
The poor man’s guide to backup old NetApp boxes
Veeam Backup and Replication has a deep integration into NetApp hardware since version 8. Yet there is still no NAS Backup Support for SMB and NFS Shares (v10 Feature or 9.5 Ux). The question arises how to back up NAS data from older NetApp boxes, when the ONTAP version is simply too old for Veeam integration and you can’t utilize NDMP, NFS or SMB protocol for direct NAS backup?
I will outline a real-life scenario where a customer has an old Netapp (7+ years old) with single controller holding very important data (I will not comment on that). 🙂
How can we integrate these datasets into an existing Veeam infrastructure?
I’ve created a cheap and dirty(?) method how to synchronize the content of that old Netapp box with a Linux VM which can be easily backed up by Veeam. The content of the Netapp NFS share will be replicated into a Linux VM (1st copy), backed up to disk by Veeam (2nd copy) and archived to tape (3rd copy, 2nd media type) which is then kept in a fireproof safe (offsite). It was possible to fulfill the 3-2-1 rule (3 copies, 2 types of media, 1 copy offsite).
pro
- no extra licenses
- simple implementation
- reliable and mature protocol
- 3-2-1 rule
- rock-solid
cons
- needs extra space on VM storage
- basic knowledge of Linux commands
What you need
Download Ubuntu Server 16.04 LTS (or later). Use an amd64 image for 64bit installation. If you have internet connection a mini.iso image is sufficient for net-installation.
Create a Linux VM optimized for Ubuntu with a single disk (70-100GB) for OS. We will add more disks for data later. Accept recommended defaults for Ubuntu Linux VM, connect mini.iso to your virtual CDROM and power on.
Setup Linux VM
To all knights of the Windows GUI. Don’t be afraid. It’s not the Matrix – it’s bash.
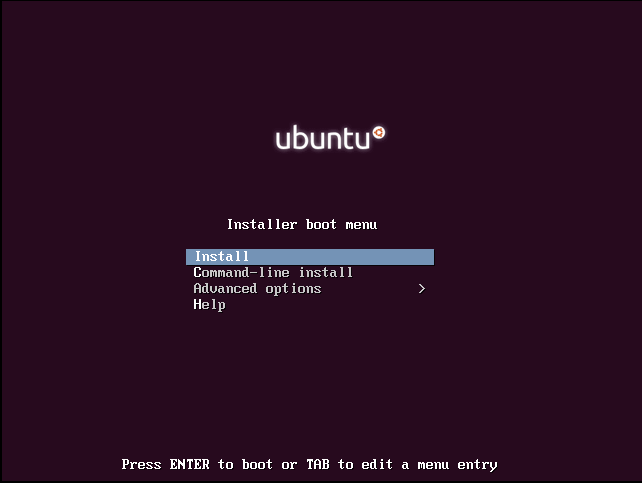
Choose Install, select your language and keyboard layout.

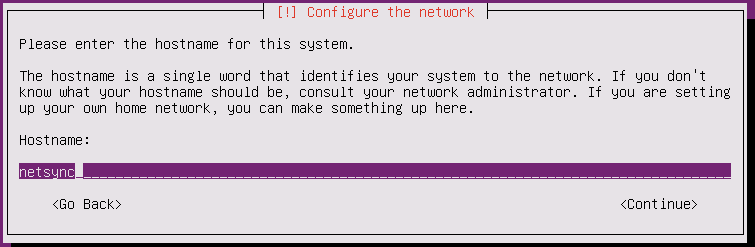
Now choose a hostname for your VM.
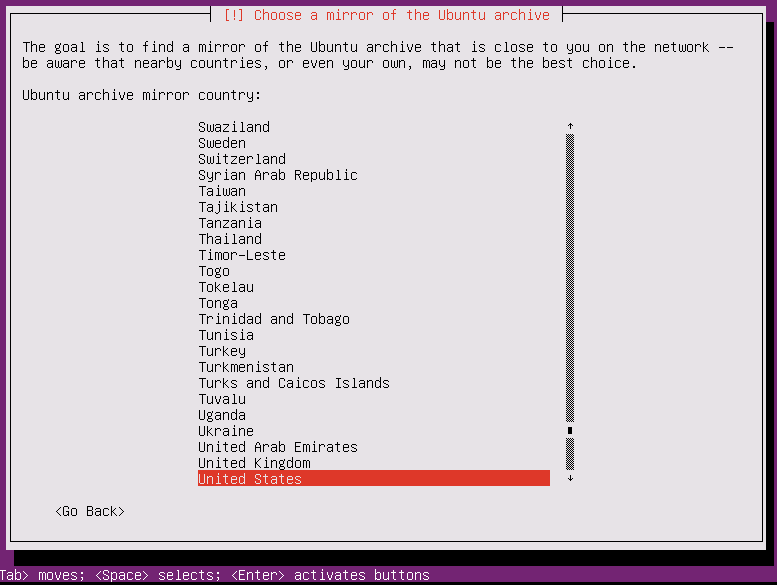
Choose a download mirror to install Ubuntu components. Usually it is ok to accept defaults.
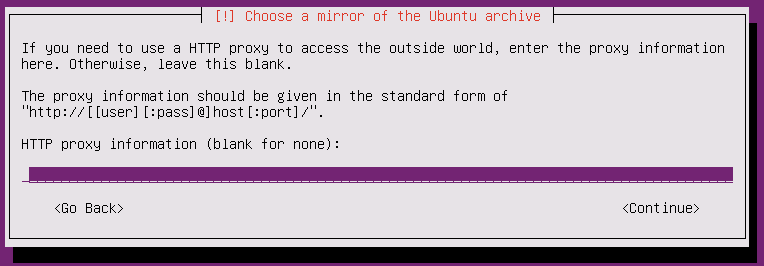
Enter proxy data or leave blank if you don’t have one.
The installer will now download and install packages that are required for initial setup.

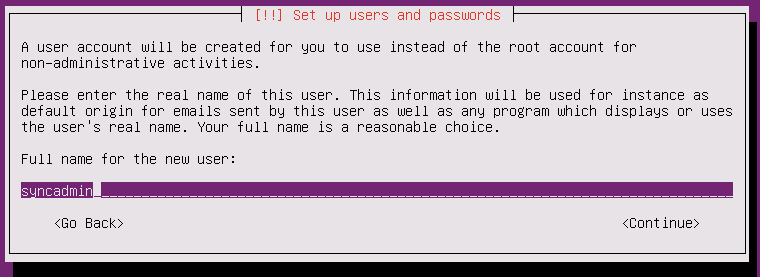
Choose Username and login-name instead of root. And enter a password for it.
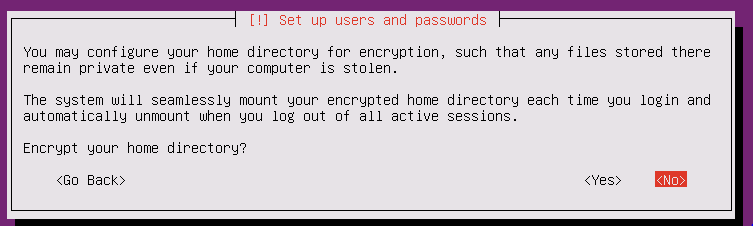
Decide whether to encrypt user’s home directory or not. Depends on your security requirements. I did choose no to keep it simple.
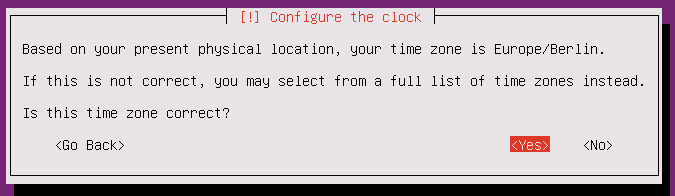
Select your timezone. Usually the detection by the installer is correct.
Configure LVM
Now for the interesting part. I’d recommend to set up LVM. It will enable us to expand our data volumes in the future.

No worries. This is going to be your system disk.
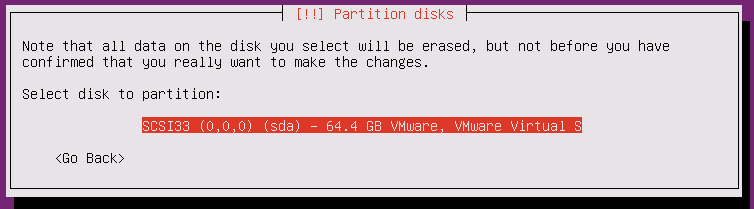
Go ahead…
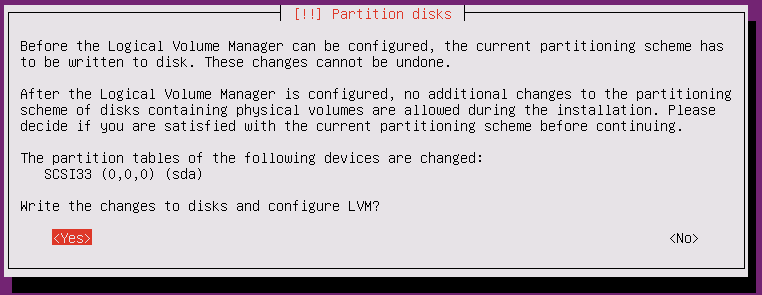
Use defaults. We’ll add disks later.
Accept values and continue.
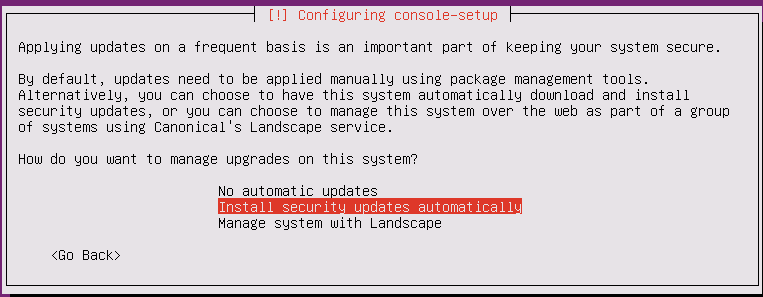
Ubuntu will now format volumes and install packages. At the end of the installation process you’ll be asked whether to install security related updates automatically or not. Depends on your policy. I’d let them install automatically.
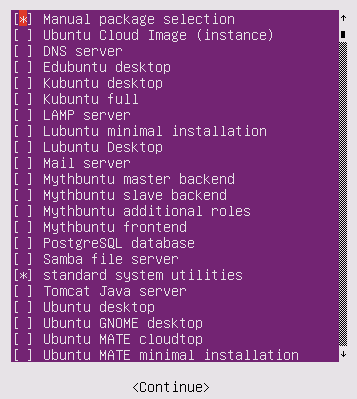
After basic package installation we can choose the flavor of our new server. All we need is Standard system utilities and manual package selection.
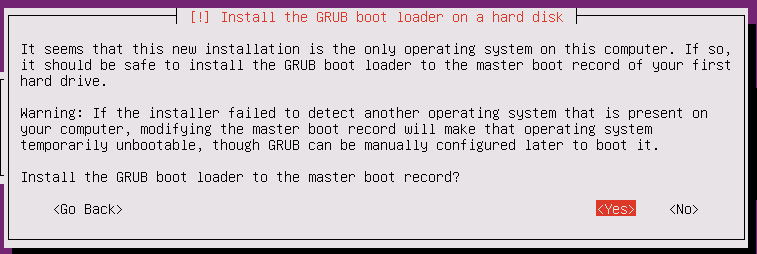
Install GRUB to the MBR.
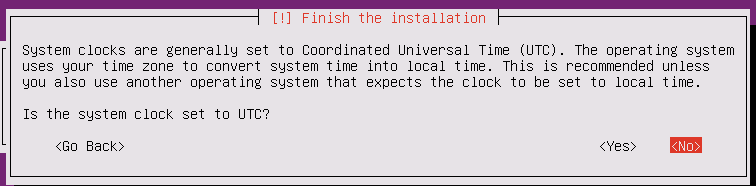
Select whether your system clock is set to UTC or not.
Configure VM for synchronization
After reboot you’ll see a text based Linux console.
login with user syncadmin and your password.
We need to install some additional packages.
OpenSSH-Server
Working on the console is not my first choice. I prefer SSH.
sudo apt-get update
sudo apt-get install openssh-server
Apt will install all required packages for you. Just accept defaults. From now on we can login with a SSH client (e.g. Putty).
Open-VM-Tools
Open-vm-tools is needed to have better ESX integration for the Linux VM.
sudo apt-get install open-vm-tools
RSYNC
Rsync usually is part of a basic installation. You can check with:
sudo apt-get install rsync
[sudo] password for syncadmin:
Reading package lists... Done
Building dependency tree
Reading state information... Done
rsync is already the newest version (3.1.1-3ubuntu1.2).
0 upgraded, 0 newly installed, 0 to remove and 0 not upgraded.
If it is already installed, Ubuntu will let you know.
Add a disk to LVM
Until now we only have a basic Linux with Logical Volume Manager (LVM) and a small disk. Let’s add a big disk as a sync target. Enter vSphere-Client and add a disk to the Linux-VM. I wouldn’t recommend a diskfile bigger than 1TB to keep storage-vMotion flexible and fast. After adding the disk I usually reboot the VM.
sudo init 6
After reboot we logon again (SSH) and check if the new disk is there.
syncadmin@netsync:~$ ls /dev/ | grep sd
sda
sda1
sda2
sda5
sdb
As you can see, there’s a new disk device sdb.
We now create a physical volume on sdb.
sudo pvcreate /dev/sdb
Check settings with pvscan
syncadmin@netsync:~$ sudo pvscan
PV /dev/sda5 VG netsync-vg lvm2 [59.52 GiB / 12.00 MiB free]
PV /dev/sdb lvm2 [500.00 GiB]
Total: 2 [559.52 GiB] / in use: 1 [59.52 GiB] / in no VG: 1 [500.00 GiB]
We have only one VG (netsync-vg) on sda from basic setup. Now let’s create another volume-group “Arc” for target data on sdb.
syncadmin@netsync:~$ sudo vgcreate Arc /dev/sdb
Volume group "Arc" successfully created
We now have a new volume-group named “Arc”. Check with vgdisplay.
sudo vgdisplay
You’ll see two volume-groups: netsync-vg and Arc.
Next we need to create a logical volume within group Arc. We’ll name it “SyncVol” and we want to consume all of it’s space (100%).
sudo lvcreate -l 100%FREE -n SyncVol Arc
Format volume SyncVol with ext4 filesystem.
sudo mkfs.ext4 /dev/Arc/SyncVol
We’d like to have volume SyncVol mounted during system boot. We name our mountpoint /sync which we have to create first.
sudo mkdir /sync
Then we have to edit /etc/fstab and append a line. Use an editor of your choice like pico or vi.
/dev/Arc/SyncVol /sync ext4 defaults 0 0
To load the new fstab you can either reboot the VM or use the command
sudo mount -a
Connect NetApp share
We now have to mount the NetApp NFS share we want to synchronize. Make sure that our Linux VM is allowed to connect to your NetApp box.
In our example the IP of the NetApp box is: 10.0.0.100 and the sourcepath is /vol/exports/xyz. Please adjust to your needs. Mountpoint on the Linux VM is /mnt/Netapp. Filesystem is NFS and we’re going to mount readonly (to be safe).
We need to append another line to /etc/fstab. Use pico or vi to edit. Don’t forget to invoke your editor with sudo.
10.0.0.100:/vol/exports/xyz /mnt/Netapp nfs ro 0 0
Sync
So far we’ve mounted our NetApp NFS share to our Linux VM and have defined a destination volume for the data. Now we need to synchronize source and destination. We can test this on the CLI or do it scripted with a cron-job. Let’s do a dry-run on the CLI first.
sudo rsync --dry-run -auv -W --ignore-existing /mnt/Netapp /sync
If that is working well, we can use a script to do the job. Change to syncadmin’s home, create a shellscript and make it executable.
cd ~
sudo touch NA_rsync.sh
sudo chmod +x NA_rsync.sh
Edit NA_rsync.sh with your editor of choice and the paste script below into it. Adjust information text and mail address to your needs.
#!/bin/bash
# rsync Netapp data
SOURCE="/mnt/Netapp"
TARGET="/sync"
rm -f /tmp/rsync.log
/usr/bin/rsync -auv -W --ignore-existing --log-file=/tmp/rsync.log $SOURCE $TARGET
if [ "$?" -eq "0" ]
then
/usr/bin/mail -s "Netapp sync success" -t myuser@mydomain.com  < /tmp/rsync.log
else
/usr/bin/mail -s "Netapp sync error" myuser@mydomain.com<<EOF
Status report of sync-VM:
Problem trying to use rsync.
Check process.
EOF
fi
exit 0
Let’s assume you want to synchronize each Monday at 2:00 a.m.
Add a line to /etc/crontab (sudo!).
0 2 * * 1 root /home/syncadmin/NA_rsync.sh > /dev/null 2>&1
I need more space
Of course syncing will sooner or later fill up your target volume inside your Linux VM. No problem. Just add another disk to your VM and reboot.
Check new disk with:
sudo ls /dev | grep sd
Create physical volume on latest device (assuming sdc here).
sudo pvcreate /dev/sdc
Expand volume group “Arc” with new volume on sdc.
sudo vgextend Arc /dev/sdc
Check volumes
sudo pvscan
sudo lvdisplay
Expand logical volume “SyncVol” in volume group “Arc”. Use all available space.
sudo lvextend -l +100%FREE /dev/Arc/SyncVol
Resize filesystem on SyncVol.
sudo resize2fs /dev/Arc/SyncVol
Conclusion
Using a Linux VM as rsync target is a cheap way to get files out of a NAS box and back them up with Veeam Backup and Replication. In near future there will surely be a more sophisticated method implemented into Veeam itself. But in the case outlined in the beginning, I could not wait any longer. I have created this solution more than a year ago. Last week during VeeamON in Chicago I was chatting with a visitor who had a very similar problem. He’s desperately waiting for Veeam NAS backup too. That triggered me to publish my quick and dirty solution. Dirty or not. My solution works flawless for more than year now.
One more reason to visit international conventions and talk to people from arounf the world. It pays off.