When deploying workloads, you may encounter warnings or errors. Kubernetes pods are no exception. Problems can be more easily solved by taking a look at the logs. But how do you find the latest logs of a particular pod?
The standard command for this is:
kubectl get events
We can sort the output by timestamp and filter on a specific pod.
kubectl get events --sort-by=.metadata.creationTimestamp -n <podname>
kubectl get events --sort-by=.metadata.creationTimestamp -n <podname> | nl
Live display of events
In the Linux world, there is the tail command to display the most recent entries of a log file. In Kubernetes the analogous command is:
Checking the cluster’s compliance for security or hidden problems is meanwhile a standard task. There are automated tools to do the job such as VMware Skyline or Runecast Analyzer. In addition to standard vSphere clusters, the latter can also check vSAN, NSX-T, AWS, Kubernetes and, since version 5.0, Azure for compliance.
In this blog post I’d like to outline how to connect a vSphere with Tanzu [*] environment to Runcast Analyzer. [* native Kubernetes Pods and TKG on vSphere]
Some steps are simplified because it is a Lab environment. I will point this out at the given point.
Before we can register Tanzu in Runecast Analyzer, we need some information.
IP address or FQDN of the SupervisorControlPlane
Service account with access to the SupervisorControlPlane
VMware Cloud Foundation is a unified SDDC platform for the hybrid cloud. It is based on VMware’s compute, storage, and network virtualization.
VCF can be expanded with more workload domains by adding further hosts, or it can be stretched over two availability zones (AZ). The expansion is initiated by and under control of the SDDC-Manager. The procedure is fairly straightforward and SDDC-Manger does all the configuration tasks in the background, i.e. forming vSAN clusters, networks, kernel ports, vCenters and NSX control planes.
setup hosts with ESXi base image
confige a management IP address
set root credentials
configure DNS and NTP
import new hosts into SDDC-Manager
deploy new WLD
There is a pitfall that can be easily overseen: The order of the new host’s NICs. Before we can import new hosts, we’ll get to see a checklist about the host requirements. The hosts need to have two NICs with at least 10 GBit.
While reading the list there’s a little detail that is often overlooked. Traditional numbering means that both NICs must have numbers vmnic0 and vmnic1. Unfortunately this seems to be hard coded and cannot be changed (as of current version 4.2). To make matters worse, many server systems have onboard 1 GBit network adapters. There’s a KB article that explains how VMware ESXi determines the order in which names are assigned to network devices. It’ll start with onboard NICs and then continues with PCIe cards. As a result you’ll might end up with two 1 GBit onboard NICs as vmnic0 and vmnic1. In this case the bringup of the VCF expansion will fail.
While you can choose NICs during initial VCF bringup, this is not possible during expansion and this time there’s no such thing as a bringup sheet. You can’t select more than two NICs either when using SDDC-Manager. In that case you’ll need to use API-calls.
Workaround
Currently there’s no other way than to disable onboard NICs in the system BIOS. If your desired NICs still show a higher number you’ll need to put the PCIe card into a lane with lower number.
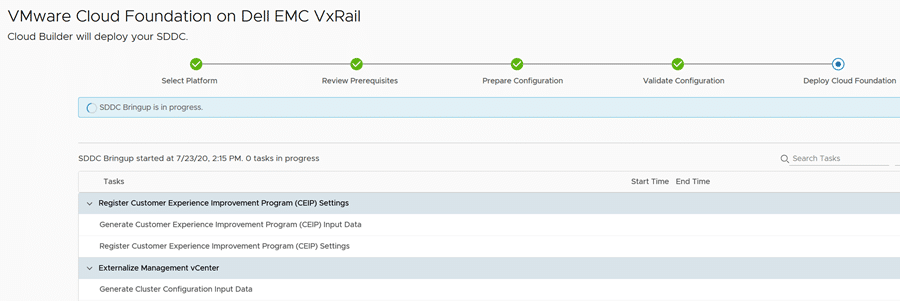
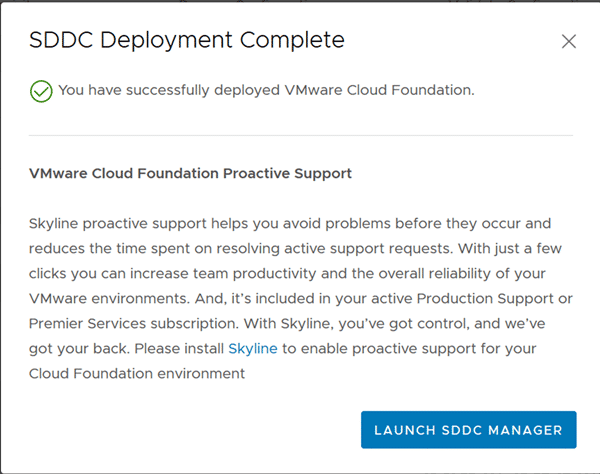
As part of a VMware Cloud Foundation (VCF) greenfield deployment, the Cloud Builder appliance is used for one-time use. It automatically deploys the management infrastructure of a VCF cluster and can be discarded afterwards.
The ideal situation is that the previously created workbook or JSON is processed and the cluster is successfully created.
In the UI of the Cloud Builder, however, there is no option to reset the wizard and restart it from zero. For example, when requirements have changed and a new or adapted workbook is to be used. Or you want to use the appliance for another rollout. In this case, the appliance would have to be completely redeployed. Any errors in the JSON file cannot be corrected this way either.
However, there is a trick to reset the Cloud Builder to zero and feed it with a modified JSON file. This is thanks to an API call that may have been ‘forgotten’ during development. In order to do so, we have to log in to the console of the Cloud Builder as user root.
[Optional] It may be easier to grant the root user temporary SSH access. Log in to the VM console as root and edit the sshd configuration.
sudo vi /etc/ssh/sshd_config
Browse the sshd_config and look for the line PermitRootLoginno. Disable the line by putting a # in front of it.
# PermitRootLogin no
Save the configuration and open a SSH session as user root. We now can execute an API call as user root.
curl -X GET http://localhost:9080/bringup-app/bringup/sddcs/test/deleteAll
Login to the web UI of the Cloud Builder appliance. You now can start from the beginning.