VMware Cloud Foundation is a unified SDDC platform for the hybrid cloud. It is based on VMware’s compute, storage, and network virtualization.
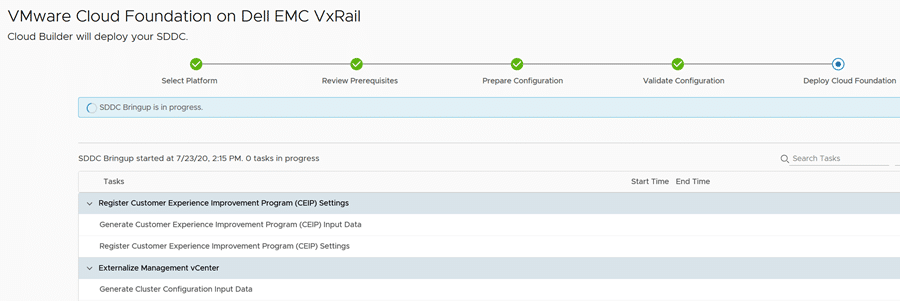
VCF can be expanded with more workload domains by adding further hosts, or it can be stretched over two availability zones (AZ). The expansion is initiated by and under control of the SDDC-Manager. The procedure is fairly straightforward and SDDC-Manger does all the configuration tasks in the background, i.e. forming vSAN clusters, networks, kernel ports, vCenters and NSX control planes.
- setup hosts with ESXi base image
- confige a management IP address
- set root credentials
- configure DNS and NTP
- import new hosts into SDDC-Manager
- deploy new WLD
There is a pitfall that can be easily overseen: The order of the new host’s NICs. Before we can import new hosts, we’ll get to see a checklist about the host requirements. The hosts need to have two NICs with at least 10 GBit.

While reading the list there’s a little detail that is often overlooked. Traditional numbering means that both NICs must have numbers vmnic0 and vmnic1. Unfortunately this seems to be hard coded and cannot be changed (as of current version 4.2). To make matters worse, many server systems have onboard 1 GBit network adapters. There’s a KB article that explains how VMware ESXi determines the order in which names are assigned to network devices. It’ll start with onboard NICs and then continues with PCIe cards. As a result you’ll might end up with two 1 GBit onboard NICs as vmnic0 and vmnic1. In this case the bringup of the VCF expansion will fail.
While you can choose NICs during initial VCF bringup, this is not possible during expansion and this time there’s no such thing as a bringup sheet. You can’t select more than two NICs either when using SDDC-Manager. In that case you’ll need to use API-calls.
Workaround
Currently there’s no other way than to disable onboard NICs in the system BIOS. If your desired NICs still show a higher number you’ll need to put the PCIe card into a lane with lower number.