
Part 1 – Deployment and Setup
Runecast Analyzer is a very useful tool to locate configuration issues within a vSphere cluster. It compares your installation against security hardening guides, best practices guides and the VMware Knowledge-Base (KB). Once you’ve set up your cluster everything might have been ok. Since then new issues might arise, problems get discovered and security guidelines can change. But your setup is still the same. It’s hard to read through VMware KB on a weekly or daily base. I would say it’s almost impossible. Some issues only occur in certain combinations of hardware, patch-level and firmware-level. That’s where Runecast kicks in. They check your setup against most recent information in the KB and hardening guides and present you a filtered subset of information with potential issues in your environment. So you can concentrate on fixing issues and don’t waste time in reading hundreds of new KB articles.
I’ve written a hands-on introduction earlier this year. This time I’d like to focus on the product from an administrative point of view.
Licensing
Runecast offers a 15 day trial license without buying anything. But you’ll see only a limited subset of results.
As a vExpert there’s a special offer by Runecast. You’ll get a one year NFR license for up to 3 hosts without limitation. That’s the one I will use in the following sections. But even the 15 day trial will give a very good impression about the quality and usability of the product.
Launch the appliance
First you need to get the latest Runecast Analyzer appliance. You can download it from the Runecast website and upload it into your cluster.
To get access you’ll need to sign up for a free account.
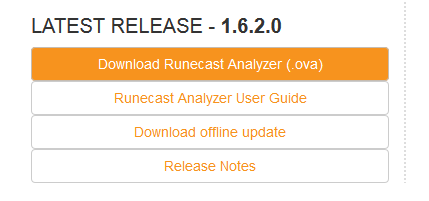
On your Profile page you’ll find a download link for the latest version of the appliance (OVA).
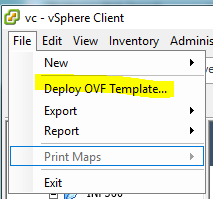
Download it and deploy it to vSphere.
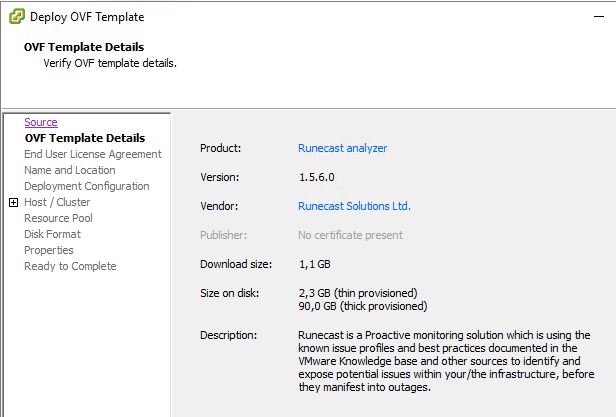
In this special case I didn’t take the latest version 1.6.2.0 in order to show you the ease of updating the Runecast App later in this series. That’s why I deployed version 1.5.6 which is from August 2017.
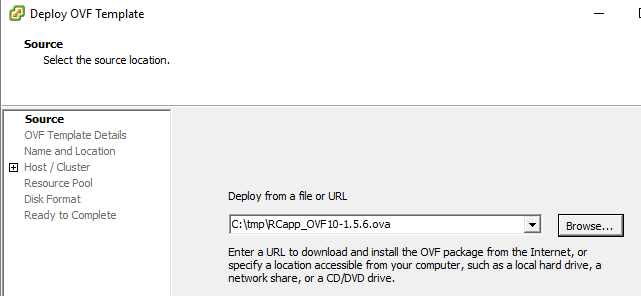
Basically this is a skip-skip-finish setup.
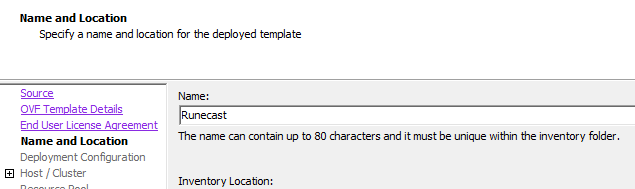
Enter a name for your Runecast VM.
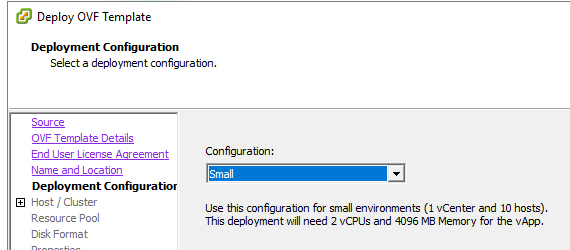
Next step is to choose a configuration size that fits your environment.
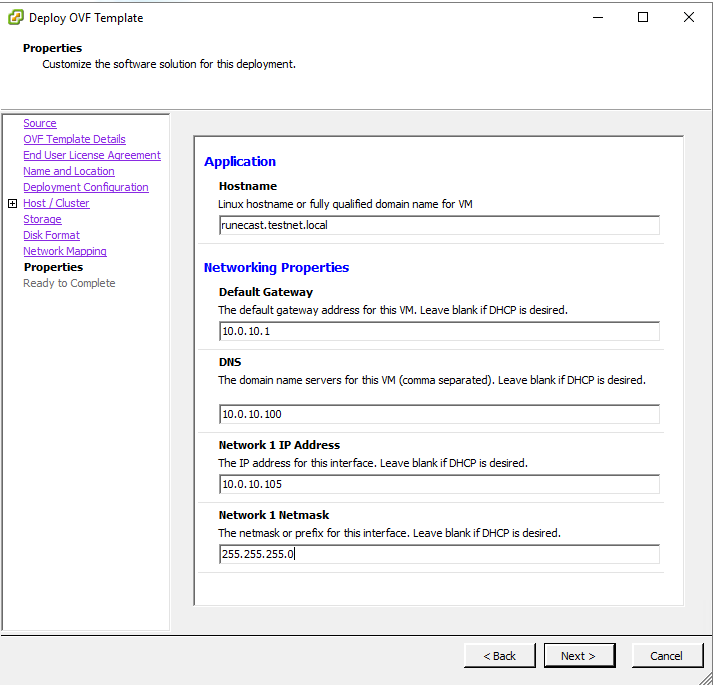
Just enter a few basic network settings like hostname, gateway, DNS server, host IP and netmask (or let DHCP do the job).
Once the VM is deployed and running you have two URLs to manage Runecast Analyzer:
Managing the appliance
https://<your.runecast.hostname>:5480
and
https://<your.runecast.hostname>
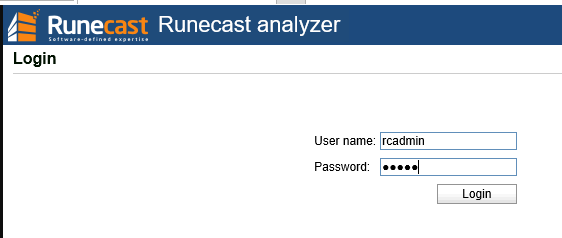
Log into the first URL (port 5480) to change basic settings like timezone or to apply changes in network settings.
Default login is rcadmin / admin
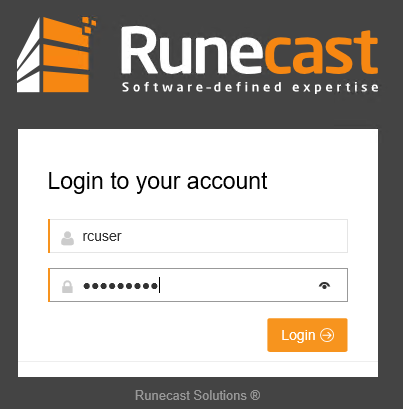
Login to dashboard
Now it’s time to log into Runecast dashboard.
Default login is: rcuser / Runecast!
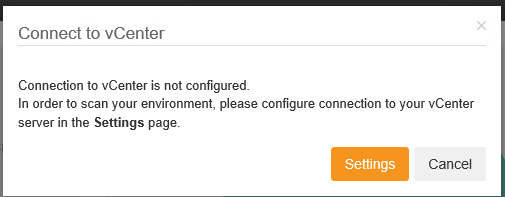
On first login you’ll see a message to remind you that there’s no vcenter connection defined yet. Just click on “Settings” and you’ll be directed to the settings section.
Click on “Add vCenter” to enter your connection settings.
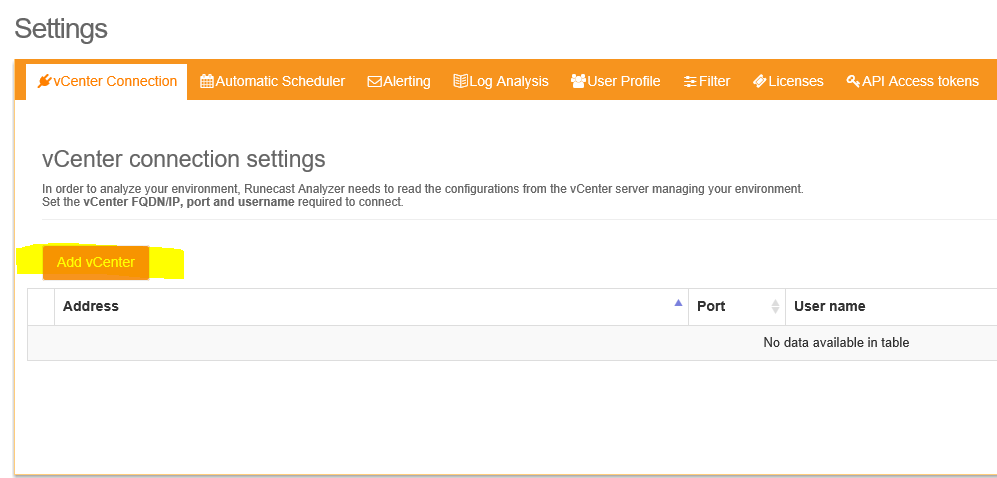
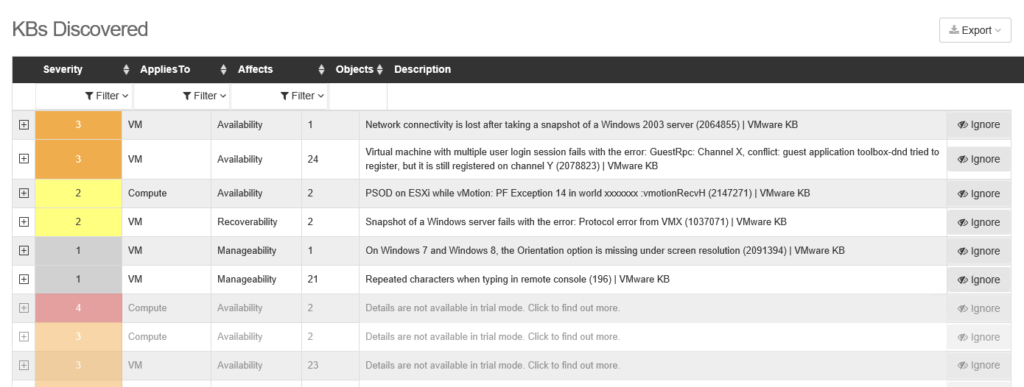
Now Runecast Analyzer can communicate with your vCenter and provide information about potential issues. You’ll get filtered information only regarding your hardware, your patch-level and your firmware-level.
Of course you haven’t entered a license yet. So Runecast will only show limited information about issues in your environment.
That’s fair. As long as you’re in trial mode, Runecast will tell you some of your issues, but not all (click on image below to enlarge).
Enter License
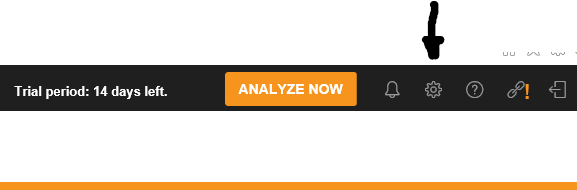
Select settings in the upper right corner of the page.
Click on tab “Licenses” and then on “Add License”
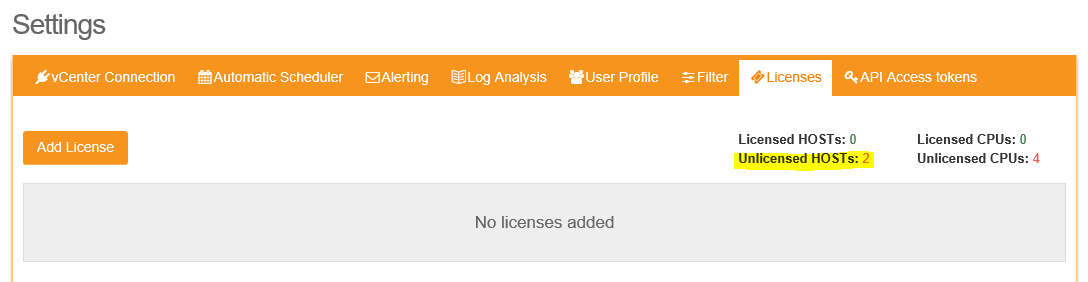
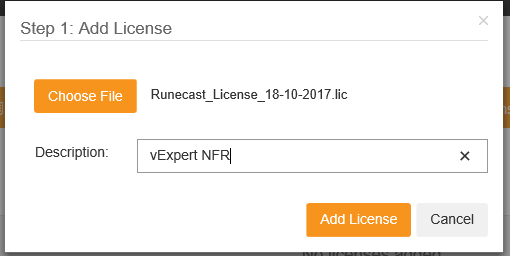
Point to your license file by clicking on “Choose File”.
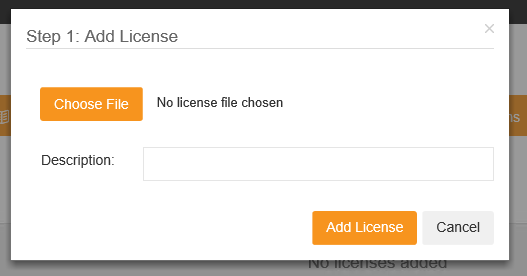
Enter a description (optional).
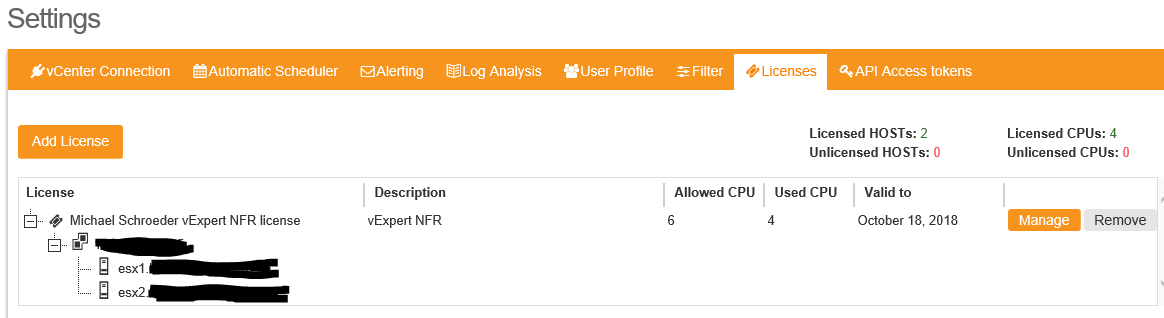
Choose all servers you want to monitor with your license. Then they appear as licensed hosts in the licencing tab.
Read on
Read in the next sections:
Part 2 – How to update (coming soon)