Building a POC vSAN Lab
Building a vSAN cluster from scratch has never been easier. Recently I had the opportunity to get my hands on 3 fine Lenovo x3650 M5 servers with local SAS drives and flash.
Specs
Lenovo x3650 M5, Dual Xeon Processor E5-2640 v4
8x 16GB TruDDR4 Memory (2Rx4, 1.2V)
8x 1.2TB 10K 12Gbps SAS 2.5in G3HSHDD
2x 300GB 10K 12Gbps SAS 2.5in G3HSHDD
2x 400GB 12G SAS 2.5in MLC G3HS SSD
ServeRAID M5210 SAS/SATA Controller
Lenovo ServeRAID M5200 2GB Flash/RAID5
3x Broadcom NetXtreme 2x10GbE BaseAdap
Make sure everythin is on the VMware vSAN HCL.
ESXi 6.5.0d Build 5310538
vCenter Server Appliance 6.5.0e Build 5705665
Installation procedure
Preparing the Host
I’ve used two of the 300GB SAS disks to build a RAID 1 LUN for ESXi installation. It’s important that vSAN storage disks are presented individually in passthrough (JBOD) mode. The M5200 series controller does not support JBOD, so I had to build single disk RAID 0 LUNs.
There’s no need to build a local volume for initial vCenter placement on the first host. VCSA setup will do that for you. Just install a plain ESXi 6.5 host, configure independent network adapters for management LAN and vSAN traffic, set the hostname and apply DNS records.
vCenter Appliance deployment
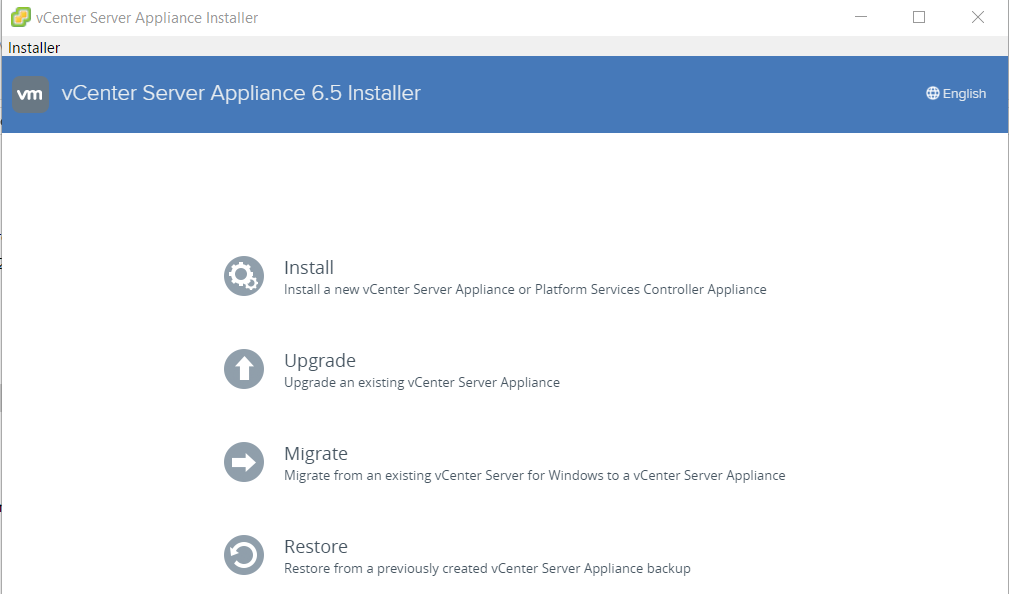
Setting up a VCSA 6.5 has become much more convenient compared to 6.0 installations. It comes with a standalone installer and you don’t have to deal with browser plugins, which can be a real show stopper.
As I mentioned above, I will start from scratch. So the choice is “Install”.
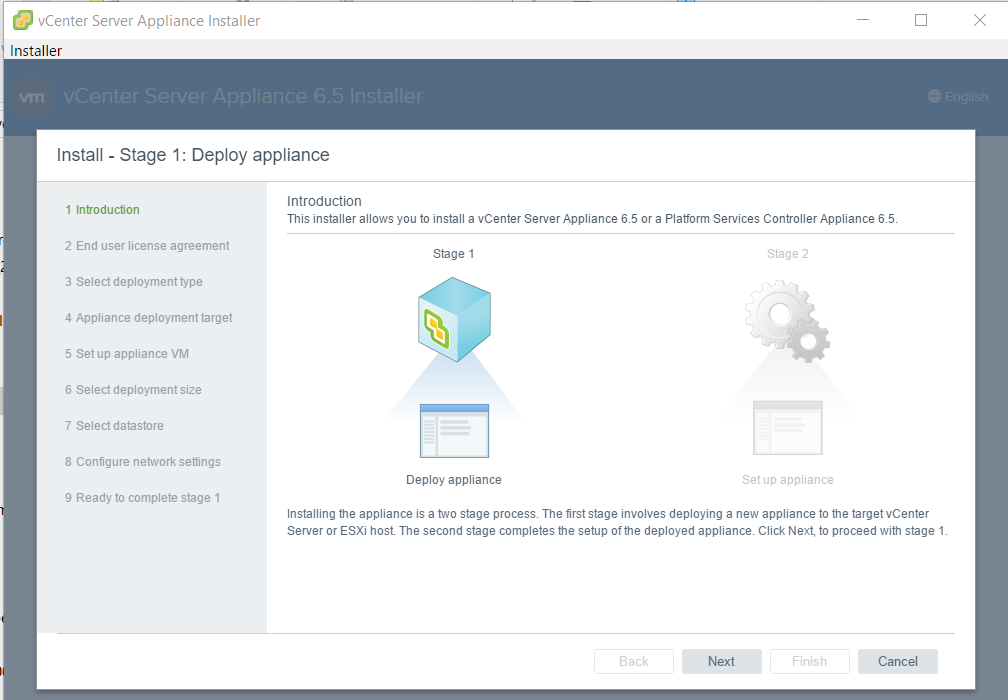
First stage is to deploy the the appliance and second stage is to configure it. The setup wizard will guide you through a next-next-finish installation. Almost 😉
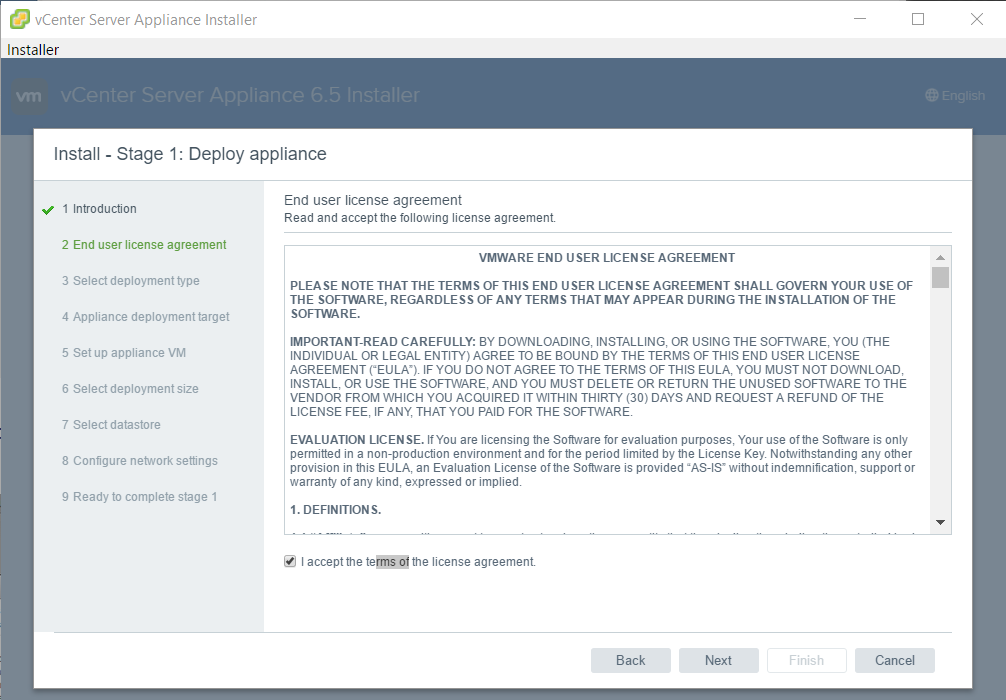
Just some legal stuff. Read carefully. No, you won’t. 🙂
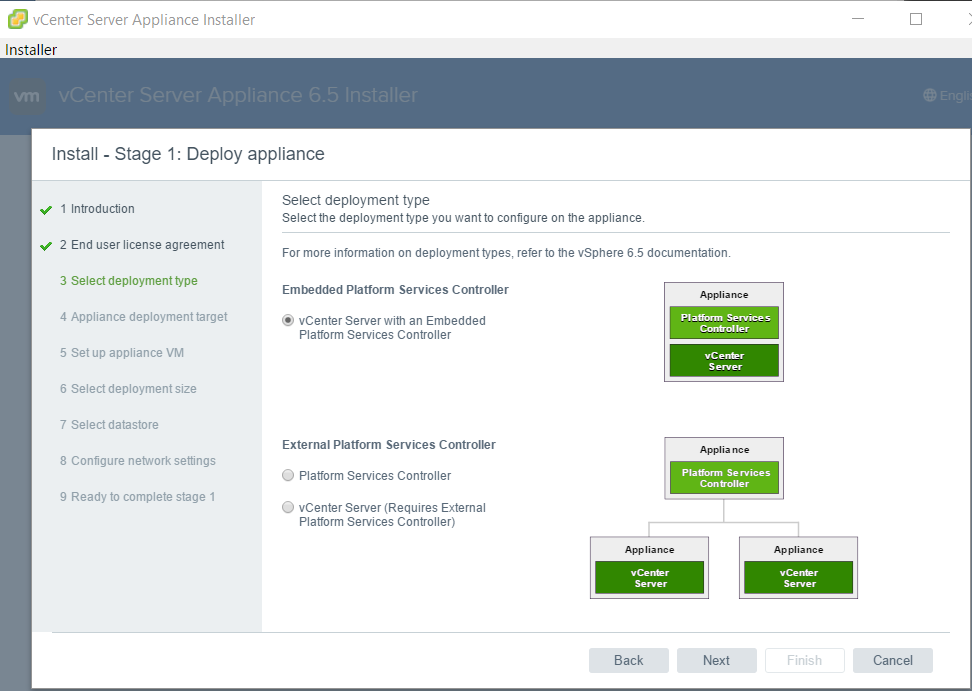
For my proof of concept I chose an all-in-one VCSA with embedded Platform Service Controller (PSC).
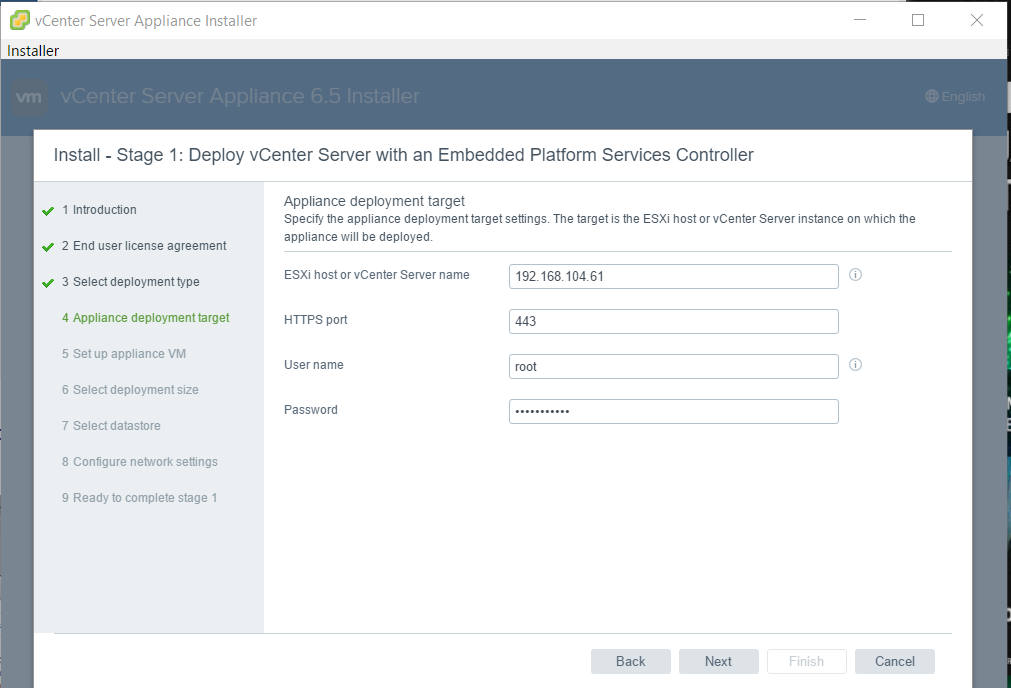
Enter IP and credentials to deploy VCSA on your first ESXi host.
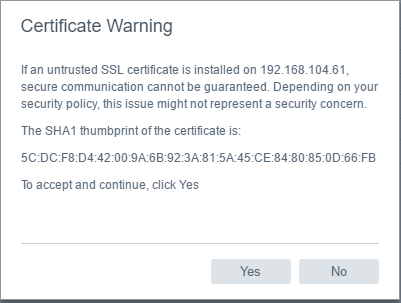
Of course there is a warning. This certificate is self signed. I will take full responsibility if small kittens get hurt. 😉
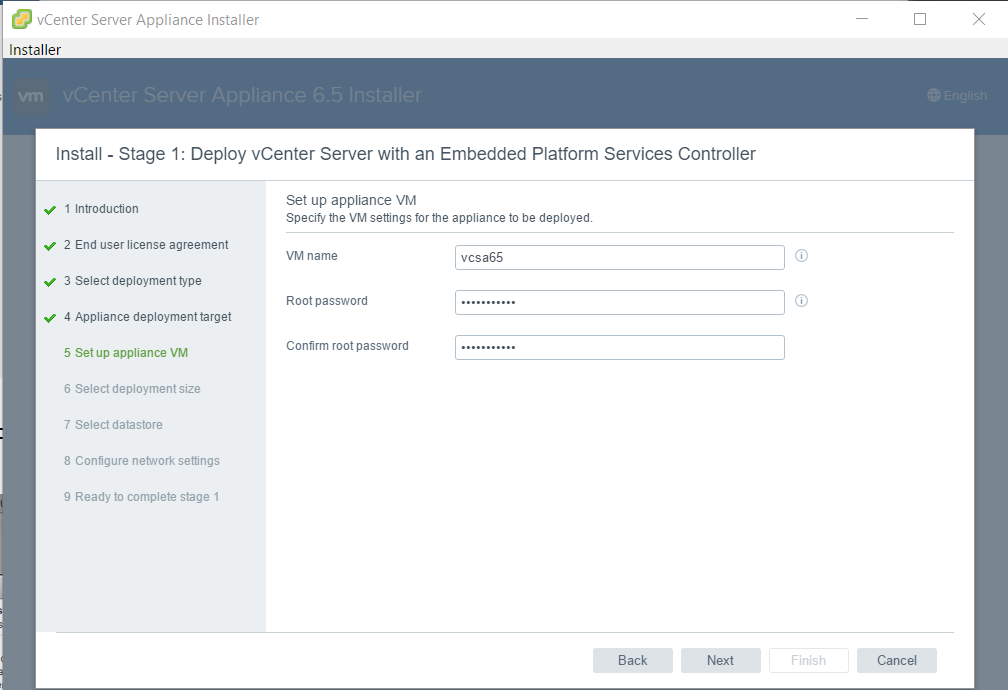
Now let’s name our VCSA and define a root password.
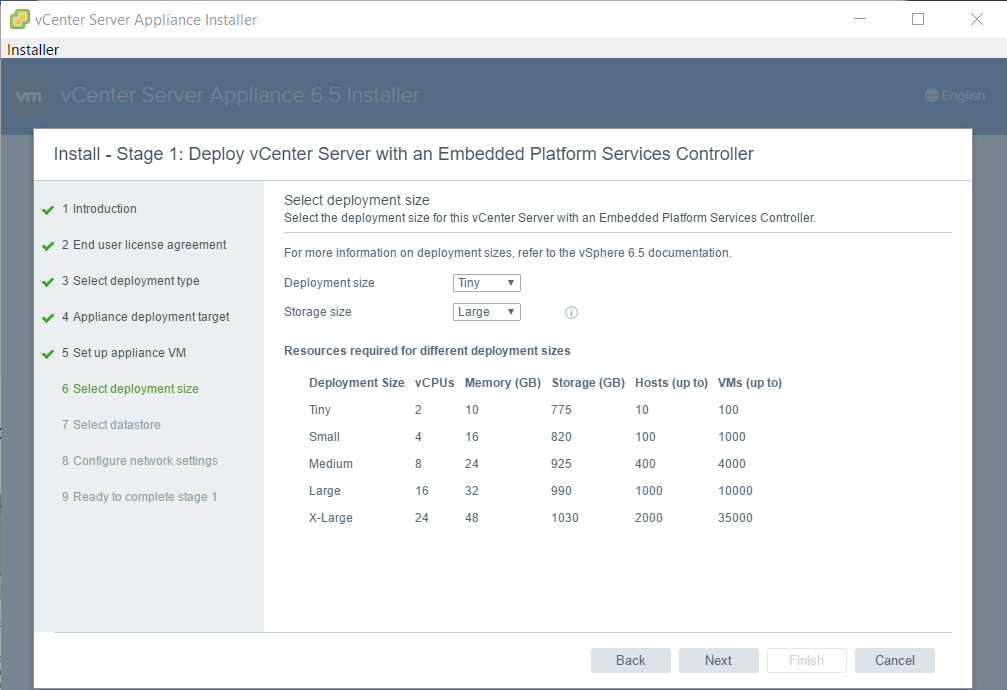
Choose deployment size. It’s good to see the implications of the choice below.
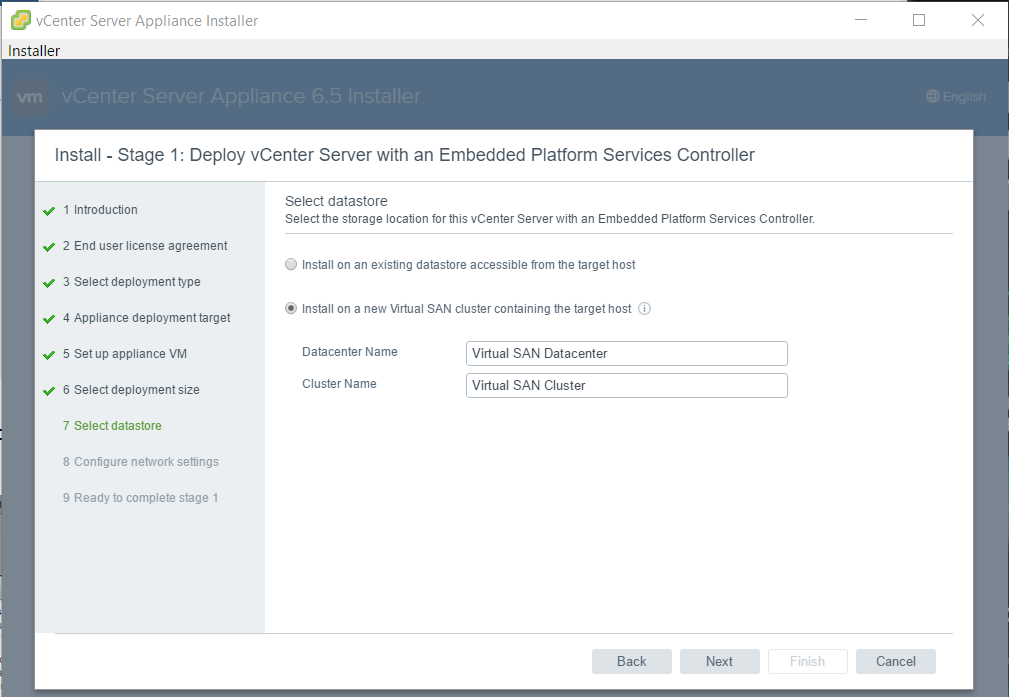
Now there’s the magic. We will deploy our VCSA into a vSAN cluster that doesn’t even exist right now.
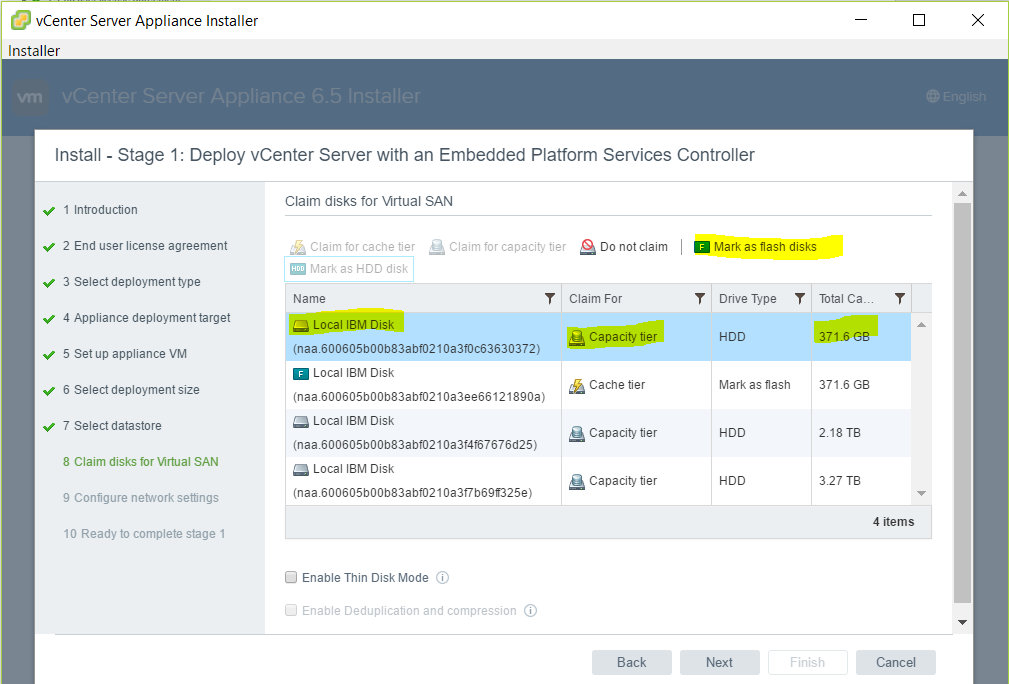
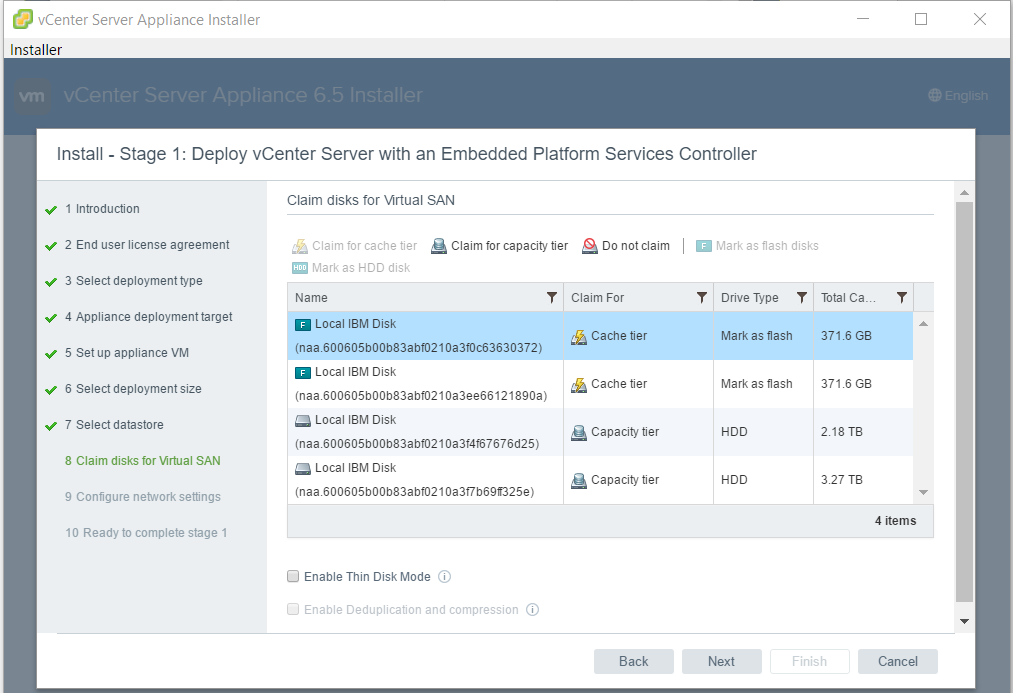
I mentioned in the preparation section, that I had to provide data disks and flash als RAID-0 LUNs. That’s why we have to tell the installer which are flash media and which are spinning disks. You’ll need to claim at least one flash disk for caching. If you have more than one, you can either use the other flash disk as caching tier too, or put it into the capacity tier.
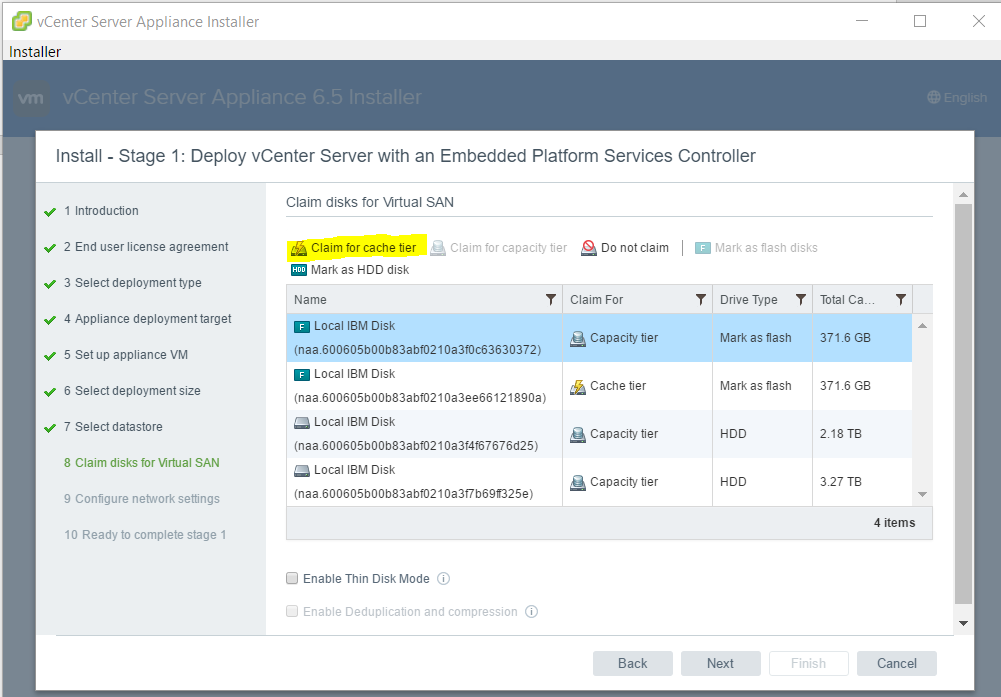
I’ve claimed both flash drives a chaching tier.
Everything is set now. Let’s move on!
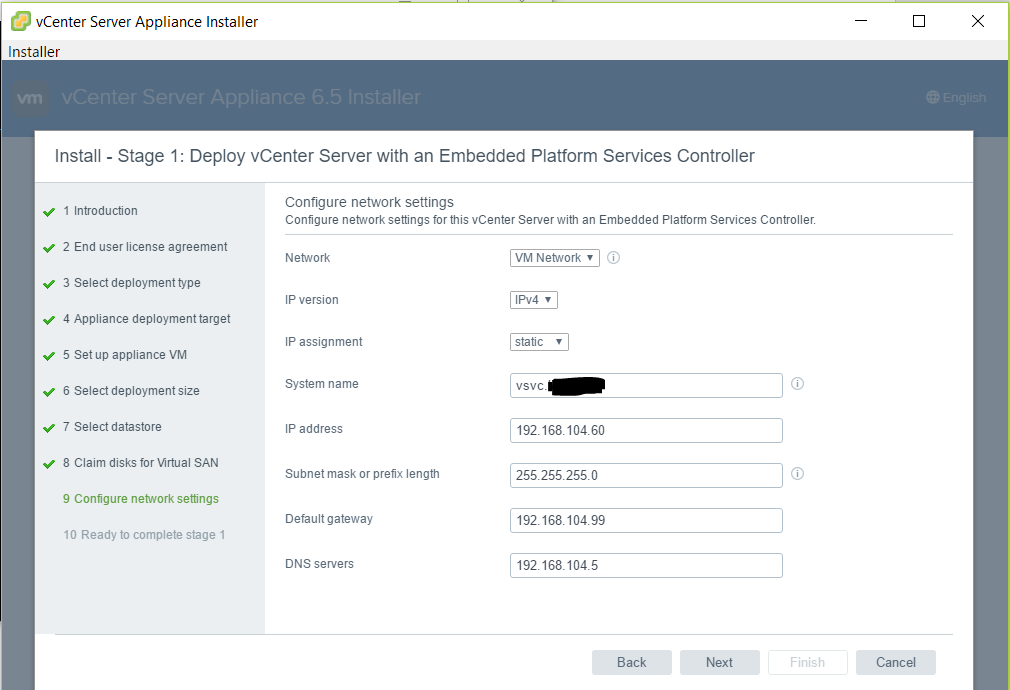
Enter network parameters for VCSA.
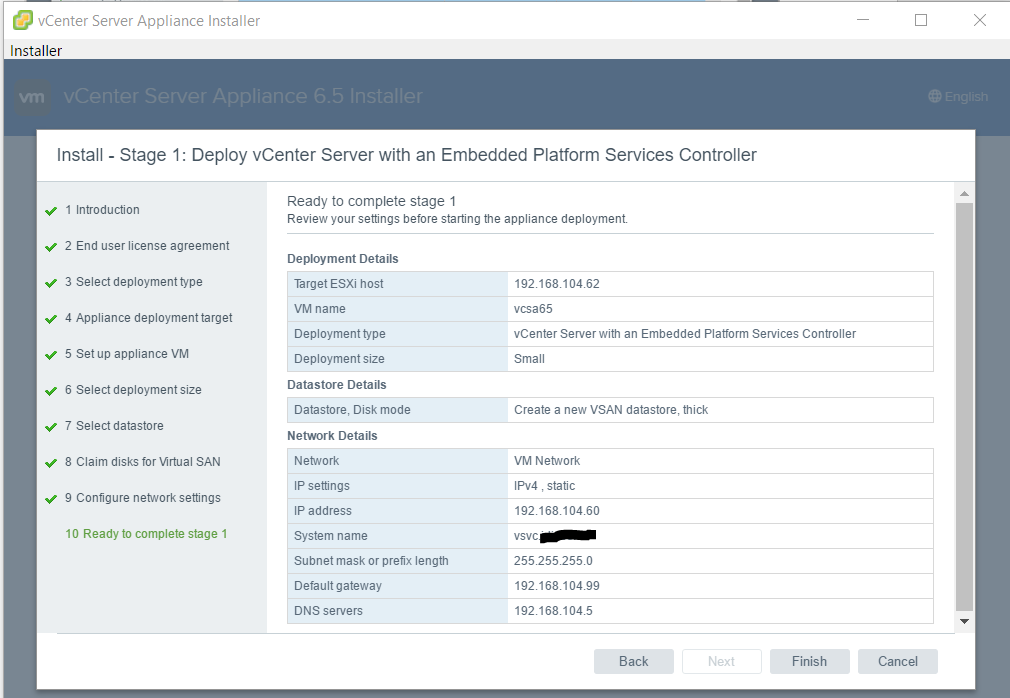
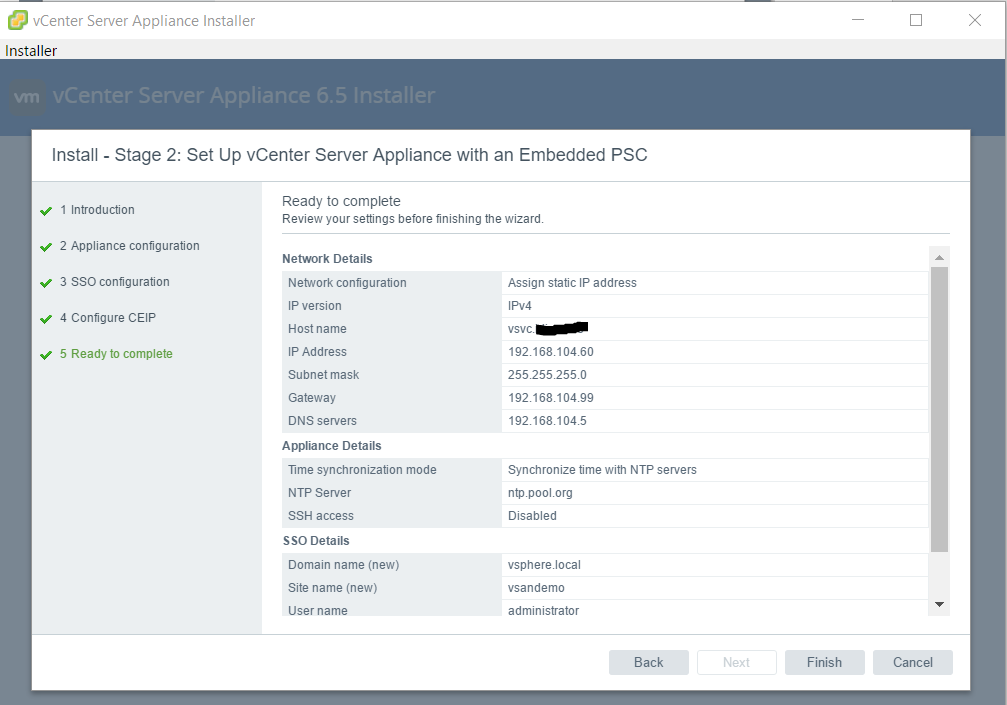
Finally the summary.
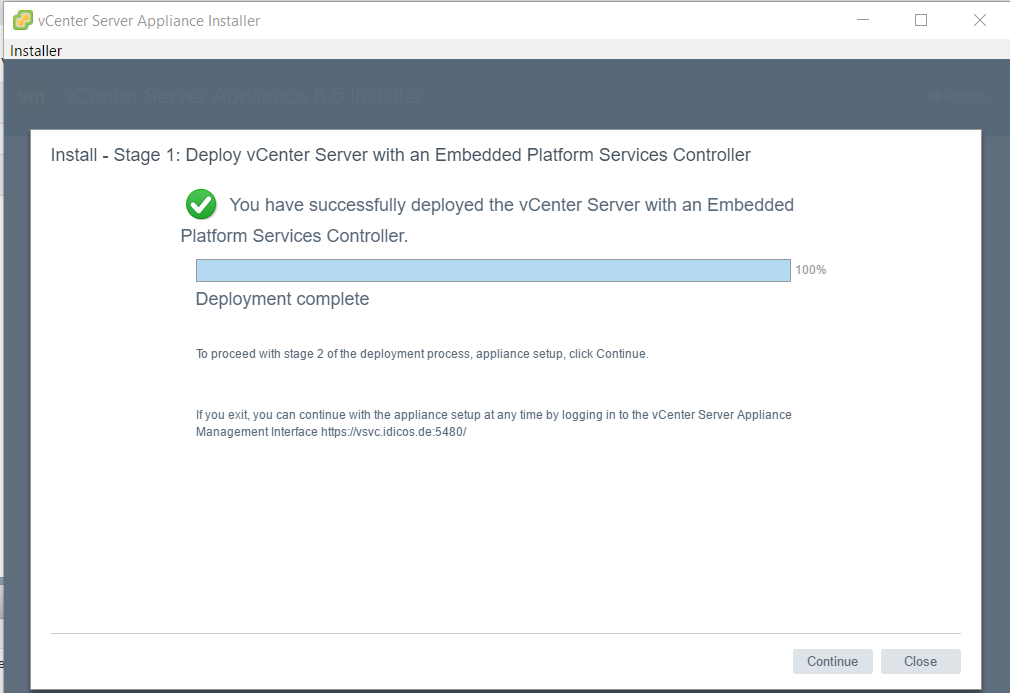
The installer now deploys VCSA onto an unfinished, single host vSAN cluster.
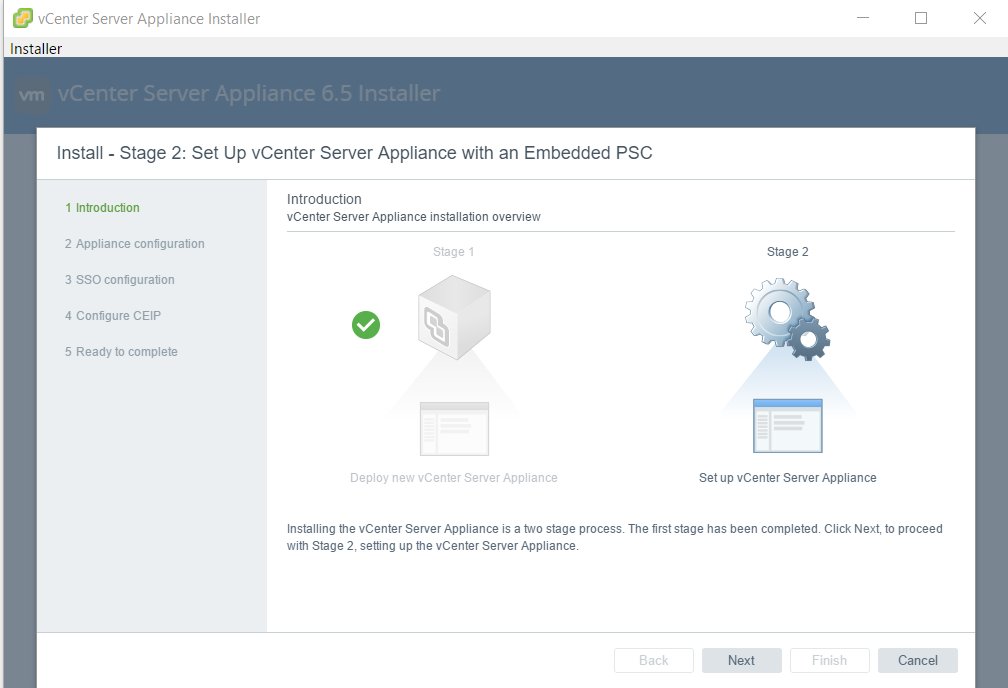
Stage2. Configuring the VCSA.
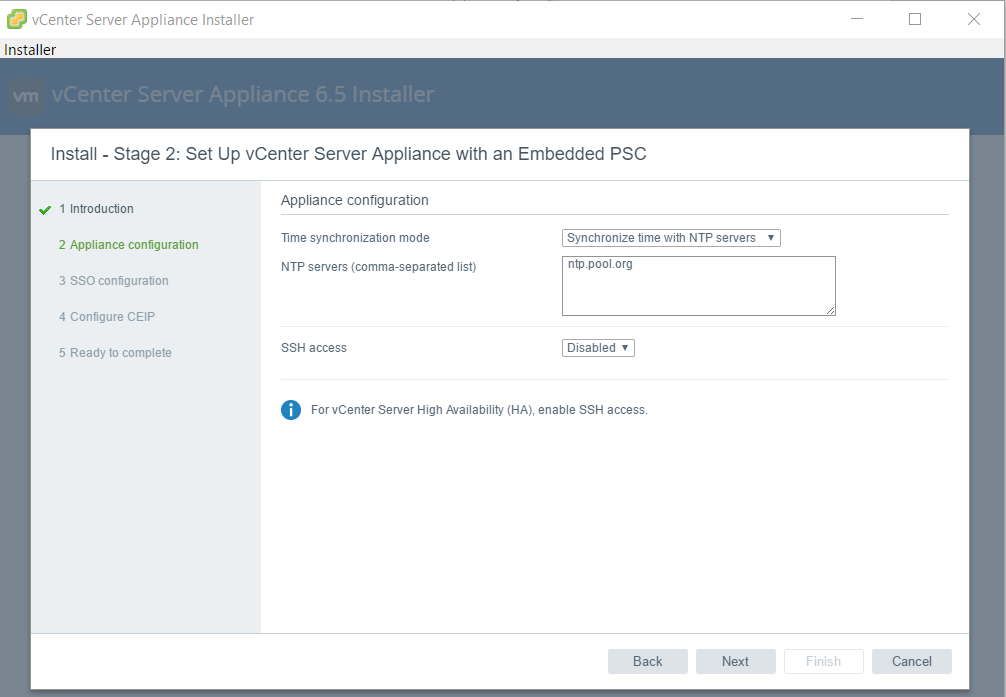
Enter a NTP server for timesync.
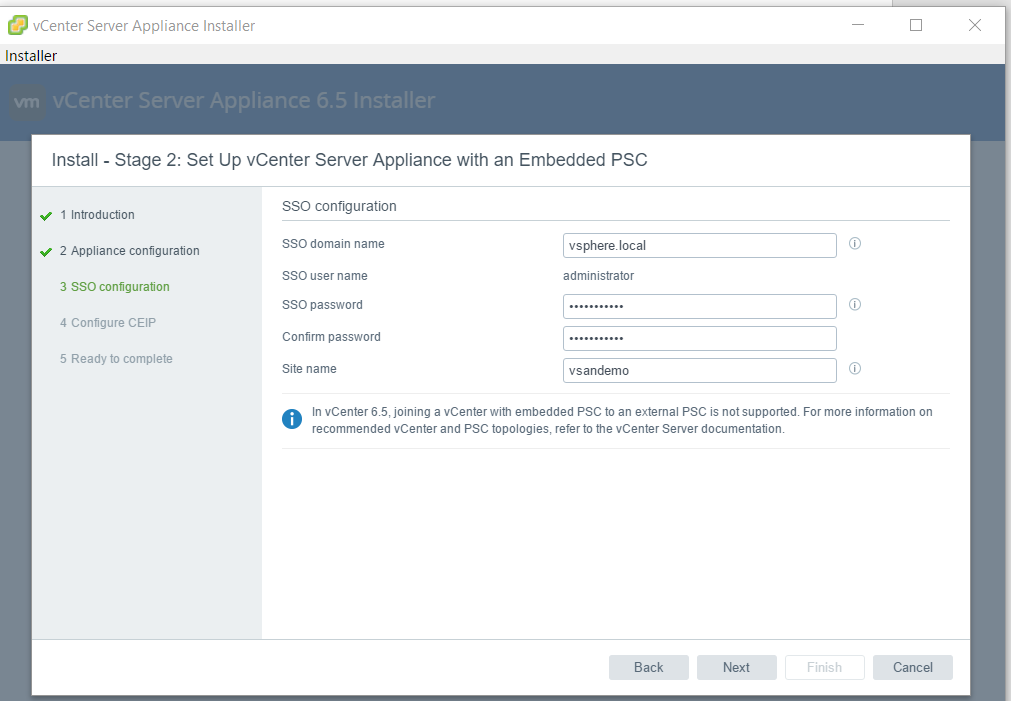
Define Single-Signon (SSO) parameters.
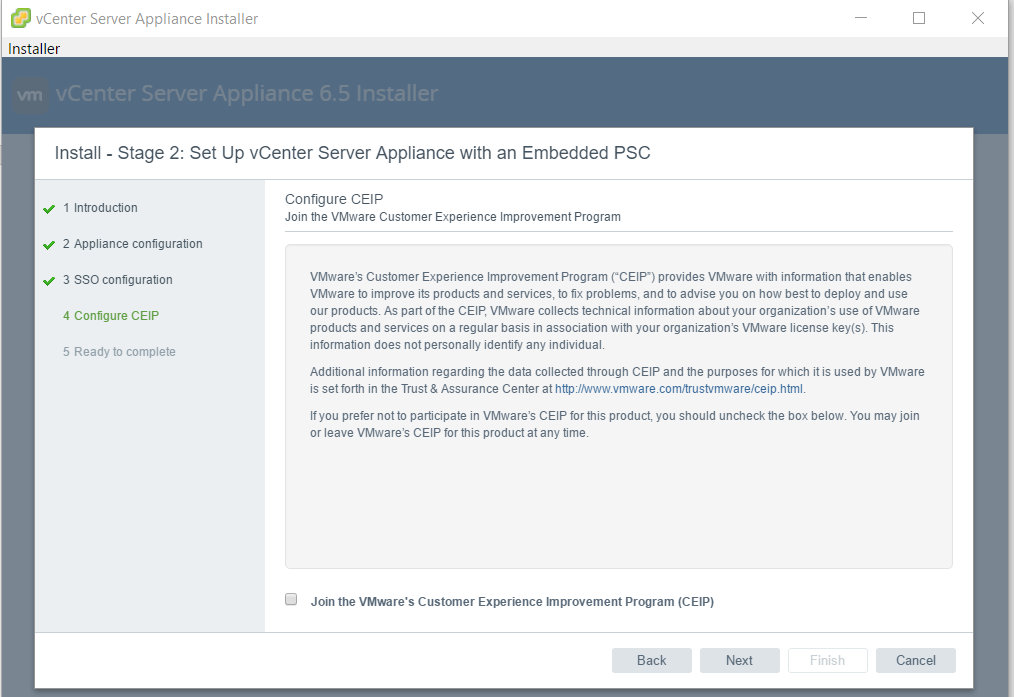
Opt in or out to send statistics data to VMware.
Summary of the VCSA configuration.
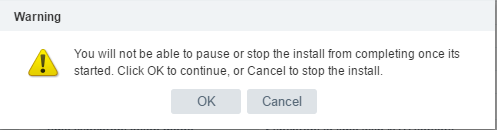
Just click OK.
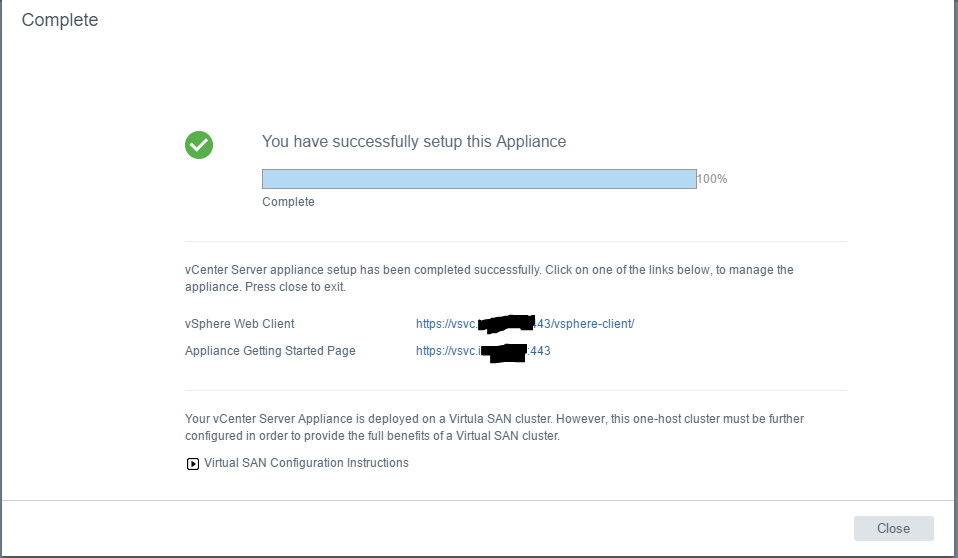
We’re almost there. In the lower part of the window you can expand further instructions to complete vSAN setup.
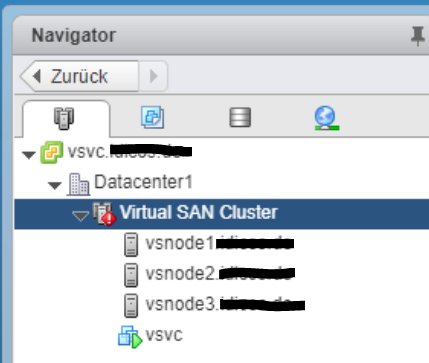
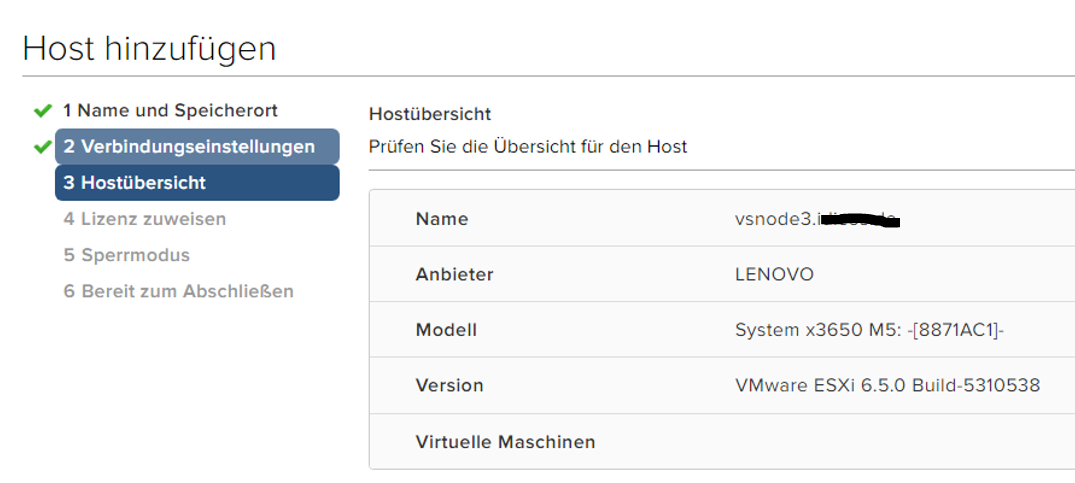
We’re still running on a single host. So it’s time to add at lest two more hosts to our new cluster.

Start a webclient session and add two more hosts.
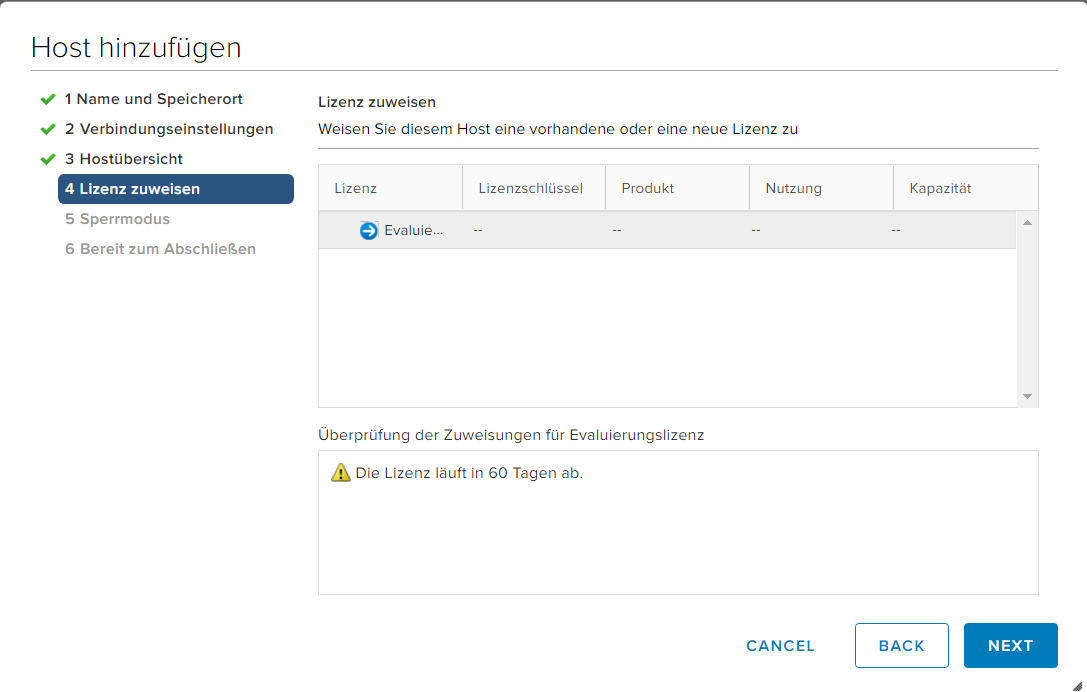
For a POC it’s okay to use the trial license wich will work for 60 days.
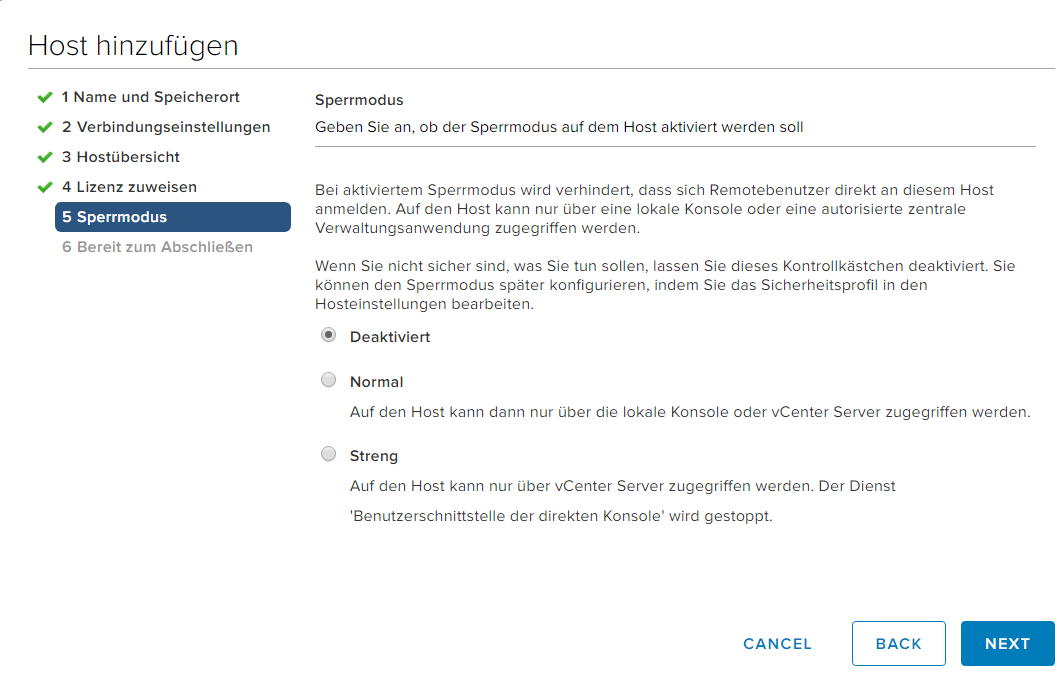
I didn’t use lockdown mode.
After adding two more hosts we’re set. The new vSAN cluster is ready to rock.