

After installing NSX-T Data Center, the NSX managers and cluster use self-signed certificates. These can and should be replaced with trusted certificates from an enterprise CA. The new certificates can be imported into the UI of the NSX Manager. Unfortunately, replacement is done exclusively via an API call. This can usually be done nicely with utilities such as Postman. However, there are environments that are very restrictive and in which neither an application such as Postman is available nor any other Linux system from which the API calls could be issued.
We will outline how we can do this without any special utilities using only the CURL command directly from the NSX Manager appliance.
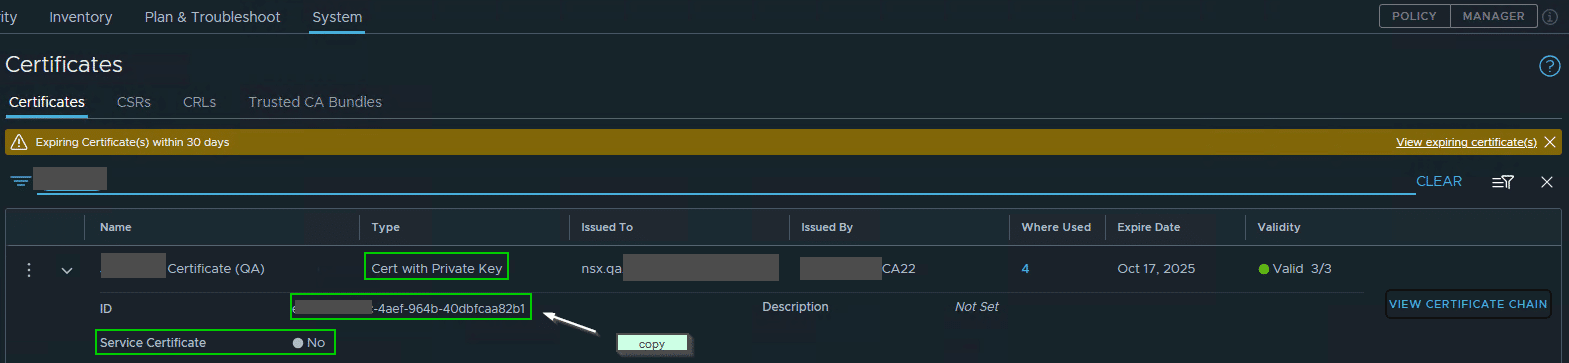
We assume that the certificates signed by an enterprise CA have been generated and already imported into the NSX Manager. It is important that the certificate contains the private key (see screenshot in the ‘Type’ column). In addition, the switch for ‘Service Certificate’ must be set to ‘no’ during import.
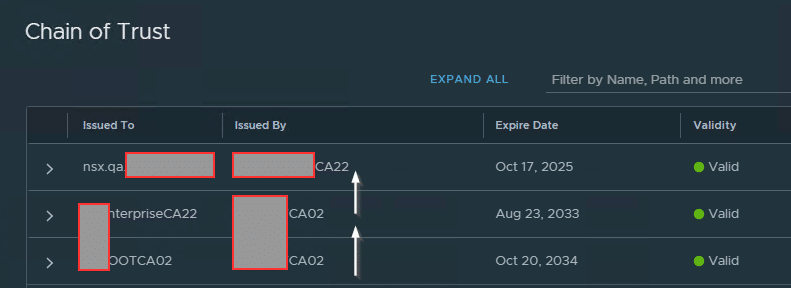
If you click on ‘View Certificate Chain’ to the right, the complete chain of trust must be shown there. For example, root CA – intermediate CA – certificate (see white arrows).
Before we can exchange our imported new certificate, we need 4 more bits of information:
- CertificateID (new)
- NodeID NSX-Manager1
- NodeID NSX-Manager2
- NodeID NSX-Manager3
We take the certificate ID from the certificate details (see screenshot 1, copy hint) and copy it into an editor of choice (e.g. Notepad++).
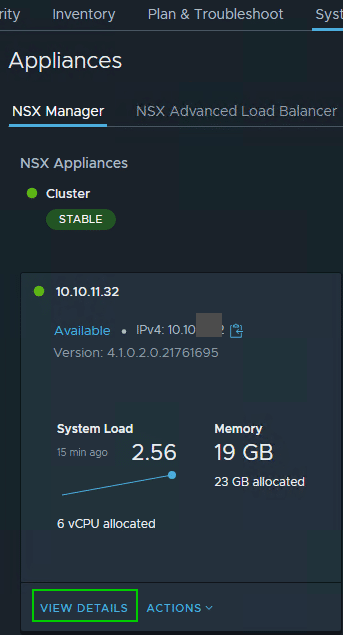
We get the node ID from the NSX Manager UI under System > Appliances > NSX Manager. With ‘View Details’ we get more information about the manager nodes.
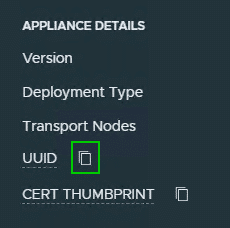
The right column contains the UUID of the manager node. Using the Copy icon, the ID is sent to the clipboard and we can also note this in our editor.
Calling API
With the collected information we can now verify and exchange the certificate. To do this, we connect directly to a manager node via SSH as ‘root’.
Validate
Before replacing the certificates, the new certificate should be validated. In the command below, the FQDN of the NSX Manager and the ID of the certificate must be customized ([CertID] including brackets must be replaced by the ID].
curl -k -u admin -X GET "https://nsxmanager.domain.local/api/v1/trust-management/certificates/[CertID]?action=validate"
Example with a (made up) CertID:
curl -sik -u 'admin' -X GET "https://nsxmanager.domain.local/api/v1/trust-management/certificates/abcde123-1234-abcd-7890-123456abcdef?action=validate"
In case of success we’ll get a HTTP/1.1 200 OK return value..
Changing the Manager-Node Certificates
We need the three NodeID of the three NSX managers here and issue the following command three times with the respective NodeID.
curl -k -u admin -X POST 'https://nsxmanager.domain.local/api/v1/trust-management/certificates/[CertID]?action=apply_certificate&service_type=API&node_id=[Mgr-NodeID]'
There’ll be no return value in case of success.
Changing the VIP Certificate
Finally, the Virtual IP (VIP) of the cluster is assigned a new certificate.
curl -k -u admin -X POST 'https://nsxmanager.domain.local/api/v1/trust-management/certificates/[CertID]?action=apply_certificate&service_type=MGMT_CLUSTER'
Once the replacement has been successfully completed, this can be seen in the certificate view of the NSX Manager UI.
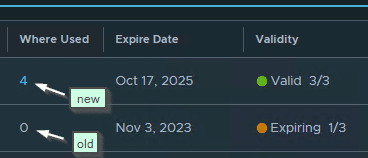
By clicking on the number 4 at ‘Where Used’ we can see the IDs of the instances that utilize the certificate.
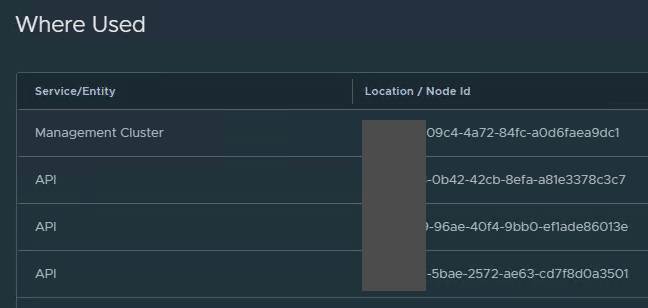
We can see that the new certificate is used for the management cluster as well as the three nodes.
Links
- VMware Docs – Replace Certificates
- CURL manpage
- vRaccoon – Troubleshooting NSX-T Certificate Errors