VMware has released a patch update 3e for vCenter. This is a maintenance release and primarily adds updates for vSphere with Tanzu. There are also separate release notes for vSphere with Tanzu.
What’s New?
- Added Network Security Policy support for VMs deployed via VM operator service – Security Policies on NSX-T can be created via Security Groups based on Tags. It is now possible to create NSX-T based security policy and apply it to VMs deployed through VM operator based on NSX-T tags.
- Supervisor Clusters Support Kubernetes 1.22 – This release adds the support of Kubernetes 1.22 and drops the support for Kubernetes 1.19. The supported versions of Kubernetes in this release are 1.22, 1.21, and 1.20. Supervisor Clusters running on Kubernetes version 1.19 will be auto-upgraded to version 1.20 to ensure that all your Supervisor Clusters are running on the supported versions of Kubernetes.
Check before update
If you upgraded vCenter Server from a version prior to 7.0 Update 3c and your Supervisor Cluster is on Kubernetes 1.9.x, the tkg-controller-manager pods go into a CrashLoopBackOff state, rendering the guest clusters unmanageable
Read KB 88443 for a workaround.
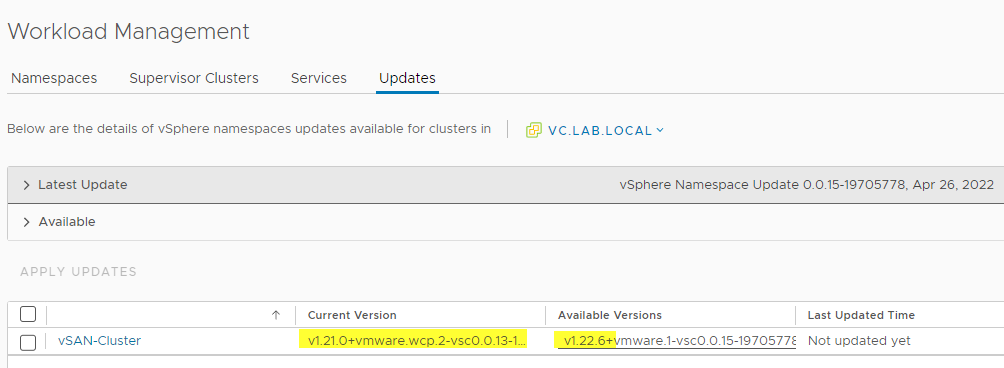
Test K8s Version
Make sure you’re on a supported K8s version.
Menu > Workload Management > Subervisor Clusters

The image above indicates we’re already on version 1.21, which is good for an update.
Update
Before updating your VCSA make sure you have a configuration backup! An optional VM snapshot is a good idea too. It might help to revert settings fast in case something goes wrong.
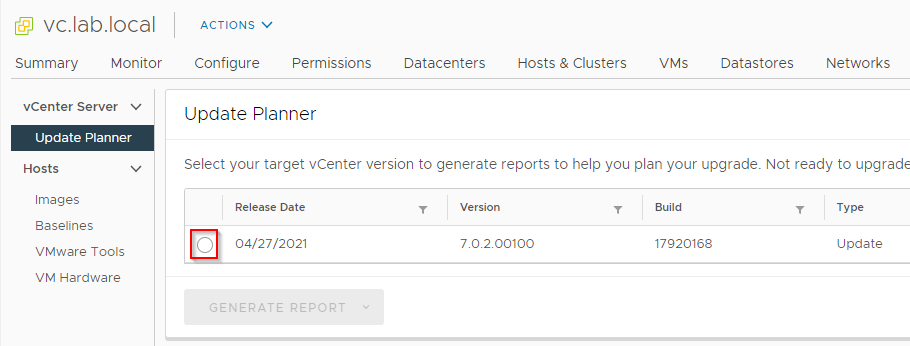
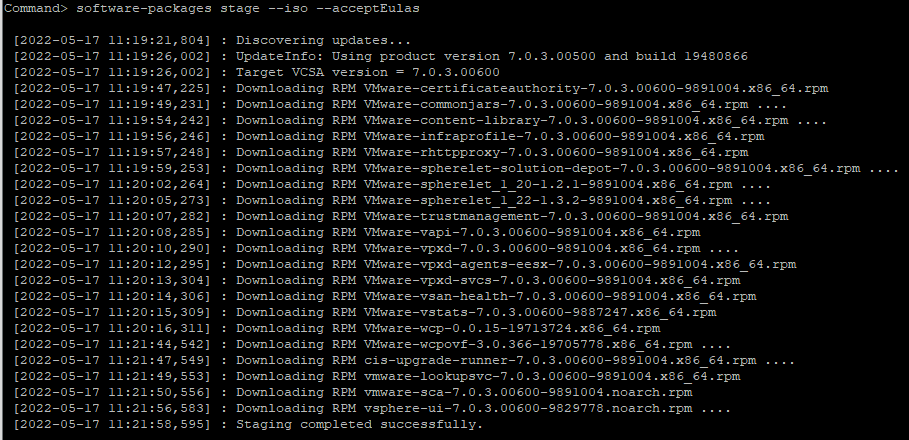
You can either apply the update from VAMI or from the shell. The image below shows an overview of the new packages with this update.
After the update is installed you will have an option to deploy a new Kubernetes version in your Supervisor Control Plane.