Part 2 – Setup and configuration
I will outline briefly the easy setup process of an Exagrid appliance and how to connect it as a Veeam repository.
Base configuration
All appliances have multiple LAN ports. Usually port 2 has a static default IP address (192.168.0.5). After power-on you can reach the web-GUI from the same subnet (192.168.0.0/24).
Loginuser: install
Password: install
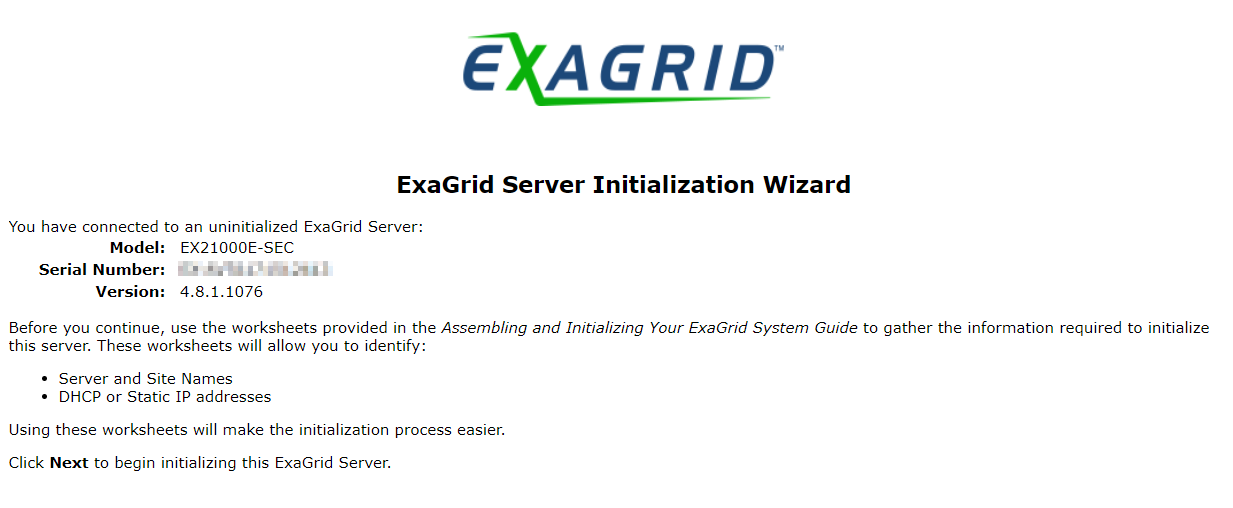
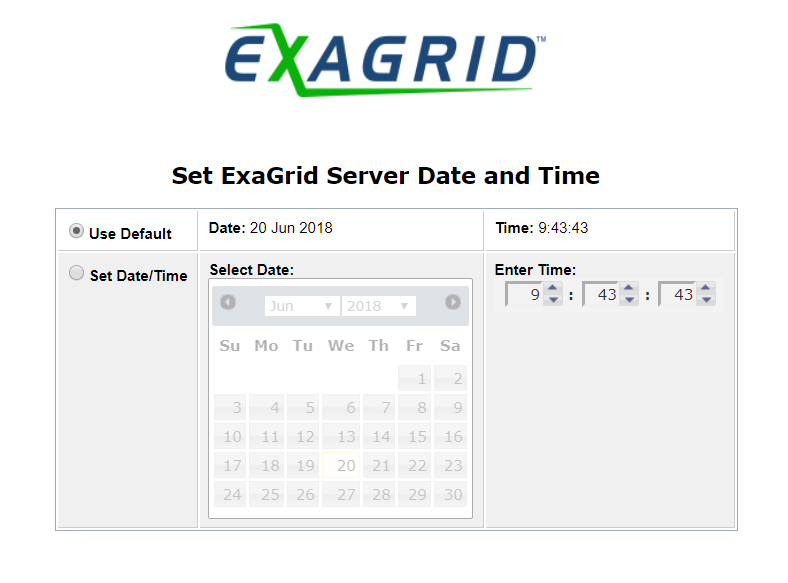
The wizard will lead you through the installation process. First we need to adjust time and date.
Every NIC can be configured for static IP or DHCP. This specific model has 4 onboard NICs with 1 GBit each and another two NICs with 10 GBit. The checkbox “backup” defines the NICs which are going to be used for backup traffic.

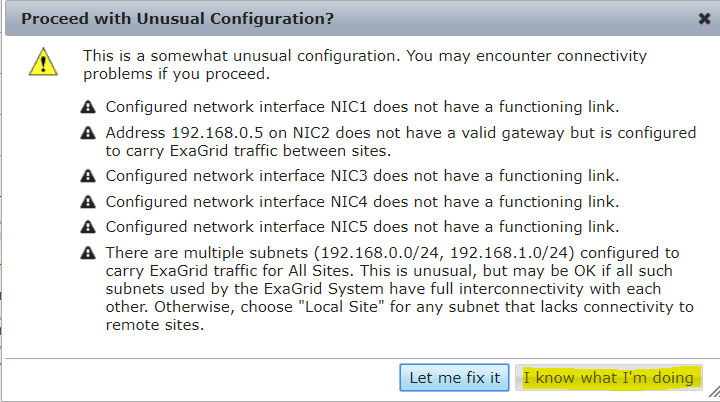
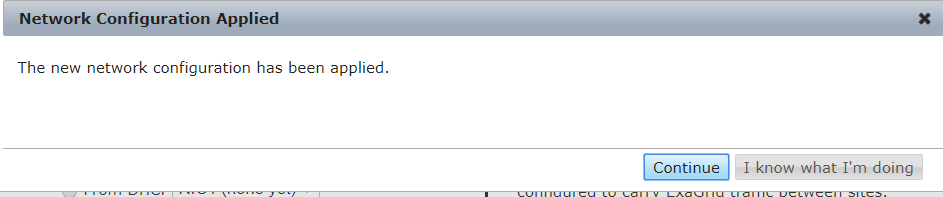
Before applying values, there’s a pre flight check to give the user information about possible issues. I’ve done the base configuration with a point-to-point connected notebook without any uplink. That’s the reason for the warning. I personally like the “I know what I’m doing” button. 😉
Saving the values…
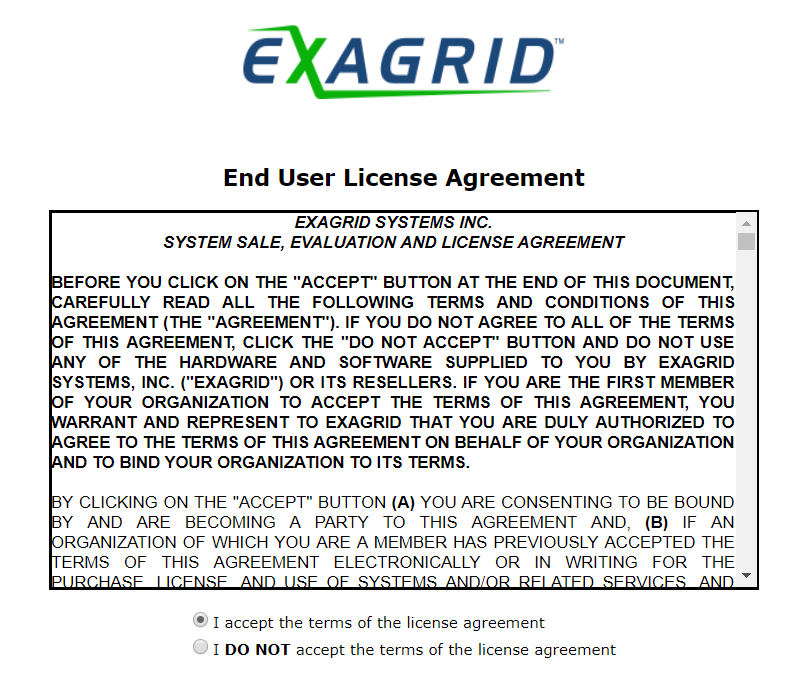
Accept the EULA. Of course I’ve read it to the end 😉
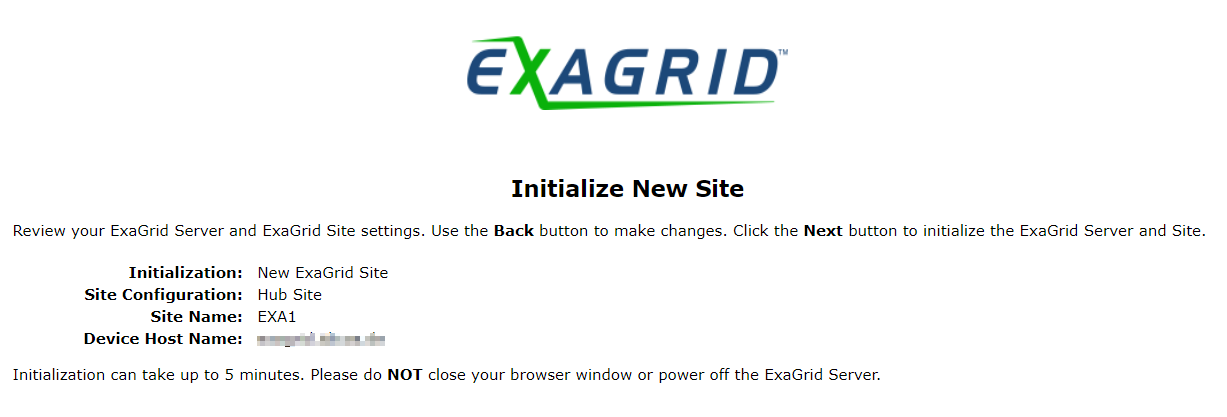
Here you can decide whether it will be a new Exagrid cluster, or if you’re going to join an existing one.
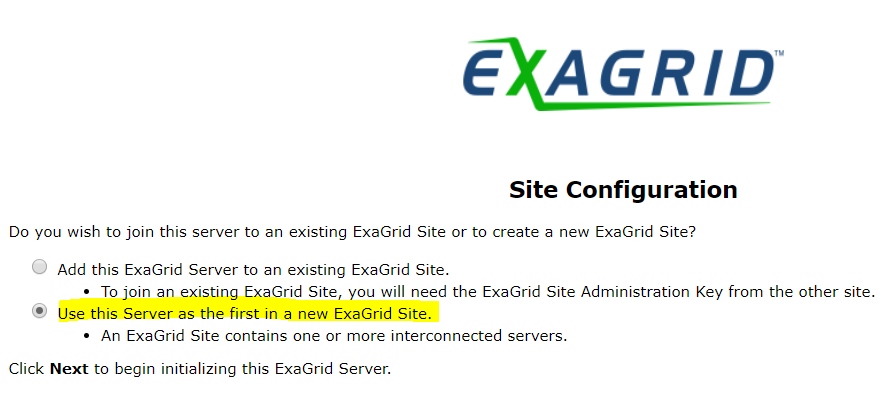
First appliance is the “hub” by definition. Every further appliance is called a “spoke”.

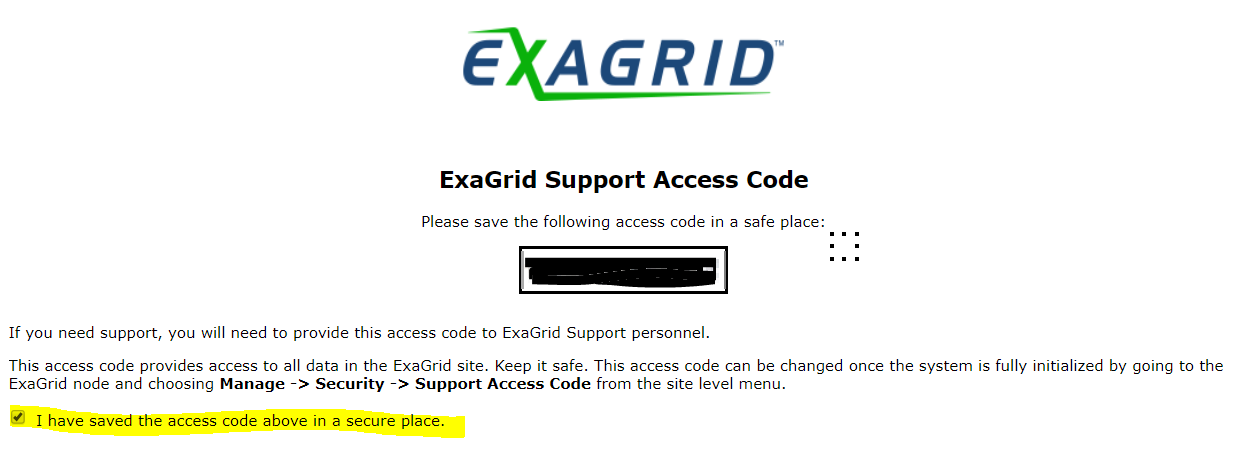
Every site gets a unique support access code. You should write that down.
That’s the end of the base configuration. The appliance initializes itself and reboots.

Connect Veeam
Before you can use Exagrid as a Veeam repository, you need to define security accounts and shares. Login to the new management address that we’ve defined in the base config.
Default login is: admin / admin
Accounts and Shares
At first everything in the GUI is red. The appliance wants to point out that you’re still using default passwords.

Site > Manage > Administrators
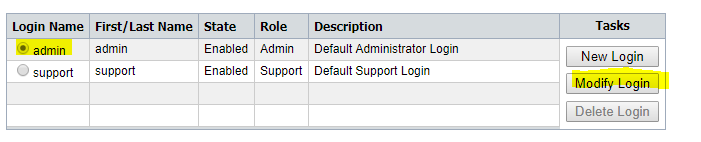
Now the warning is gone. Be patient. It might take 1-2 minutes until the warning disappears.
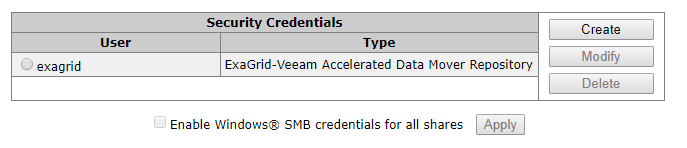
Define a Veeam user
To access the appliance from Veeam, we need a connection user.
Exagrid > Manage > Security Credentials > Create
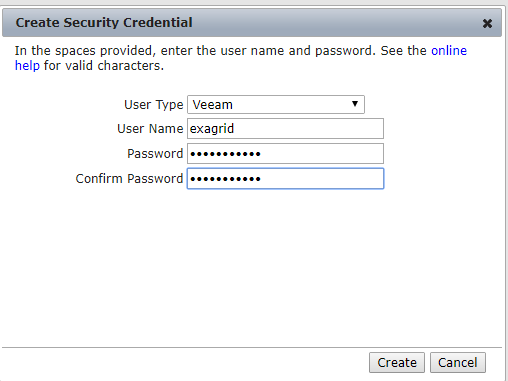
If you choose “Veeam” as usertype, the appliance will activate the Veeam datamover.
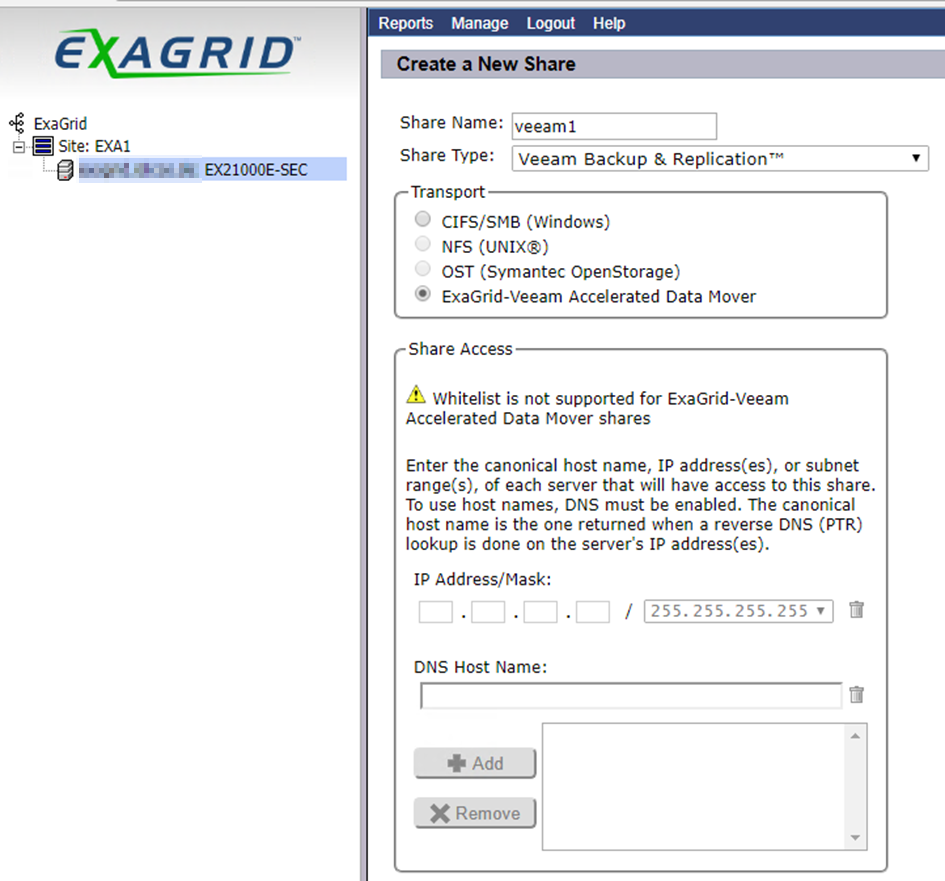
Define a Veeam Share
In order to store backup data we need also to have a share.
Unit > Manage > Shares > New
Here it is important too to select “Veeam Backup & Replication” as share type and Exagrid Veeam accelerated datamover.
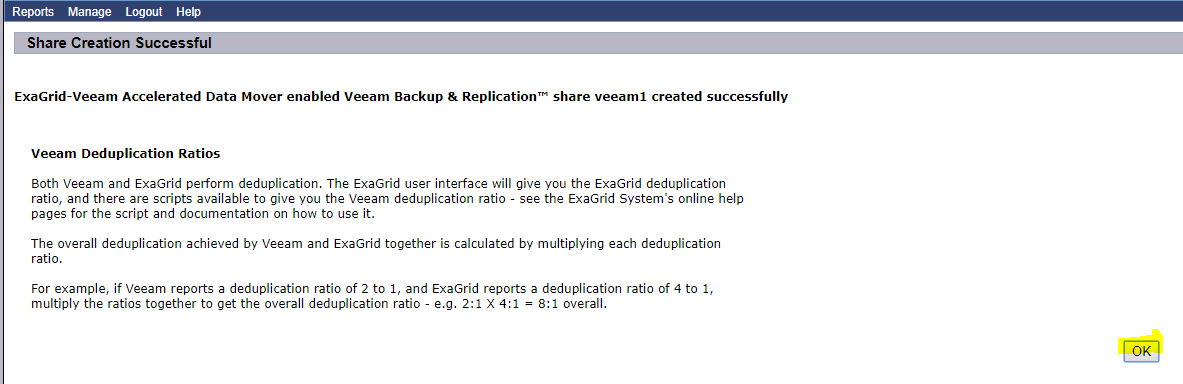
A last hint before finishing installation.
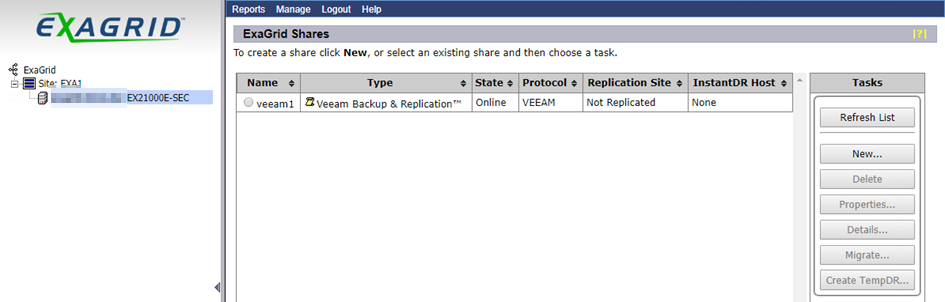
Our new share is stll offline, because we did not yet connect a Veeam server.
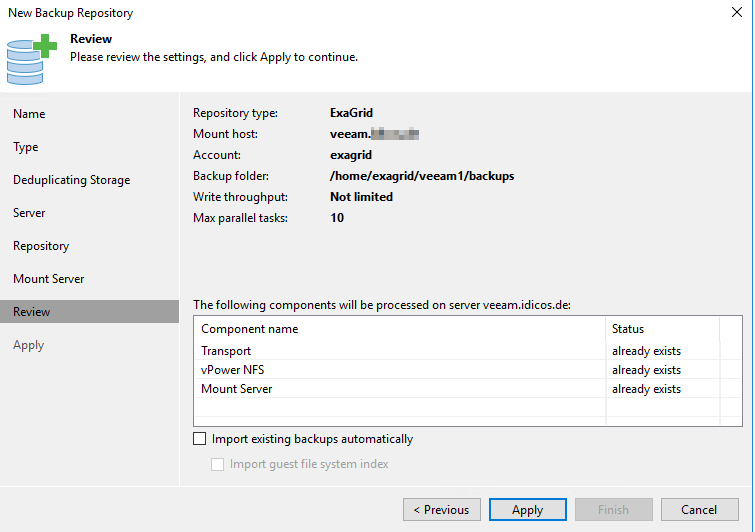
Connect Veeam Repository
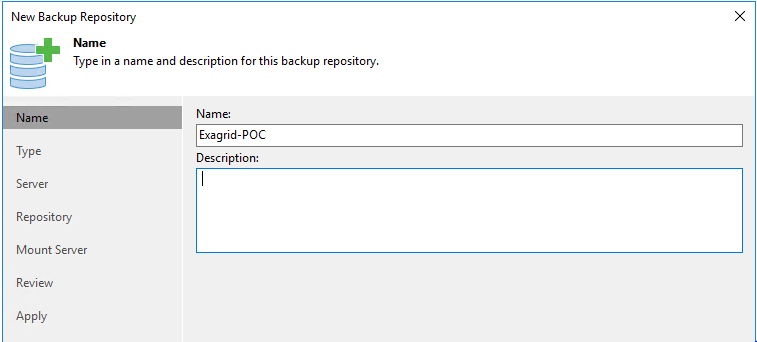
All further configuration steps are done from within Veeam Backup & Replication console. Go to repositories and choose “add repository”.
Choose Deduplication storage appliance as repository type.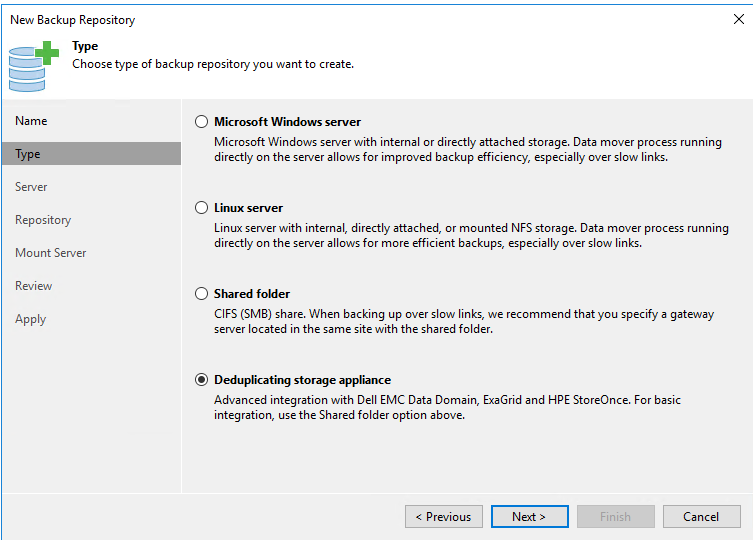
Select Exagrid as appliance type.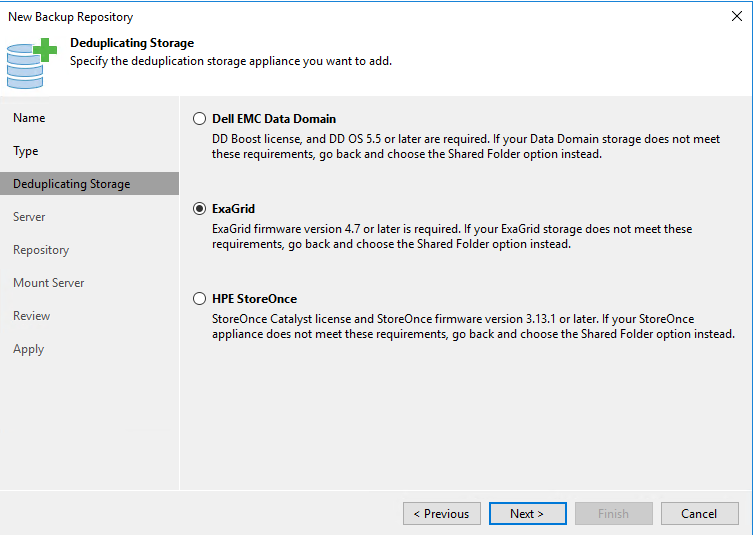
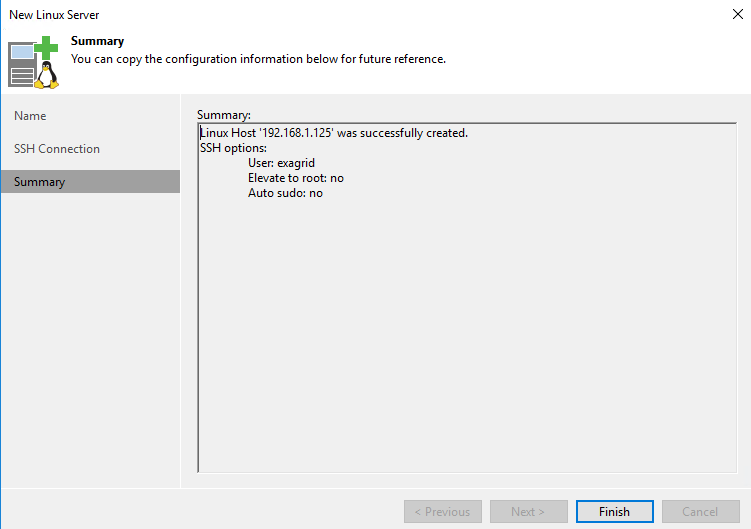
Now we need to add our new Appliance as a server which is backing the Veeam repository.
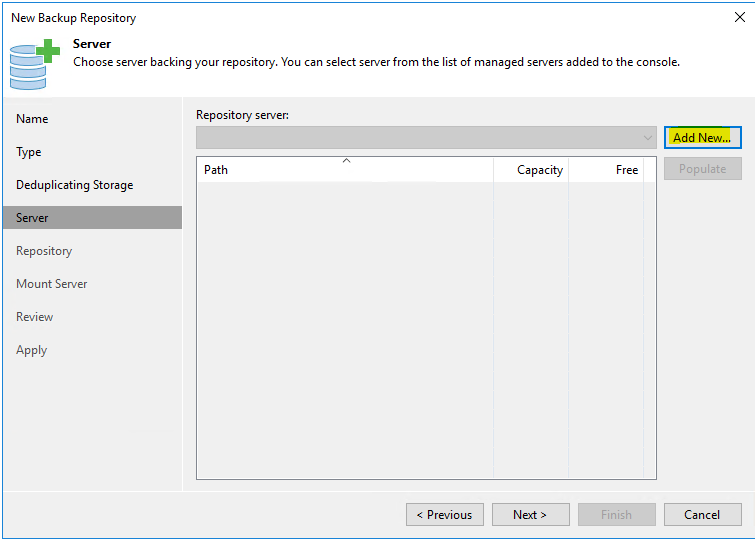
In our case the IP is 192.168.1.125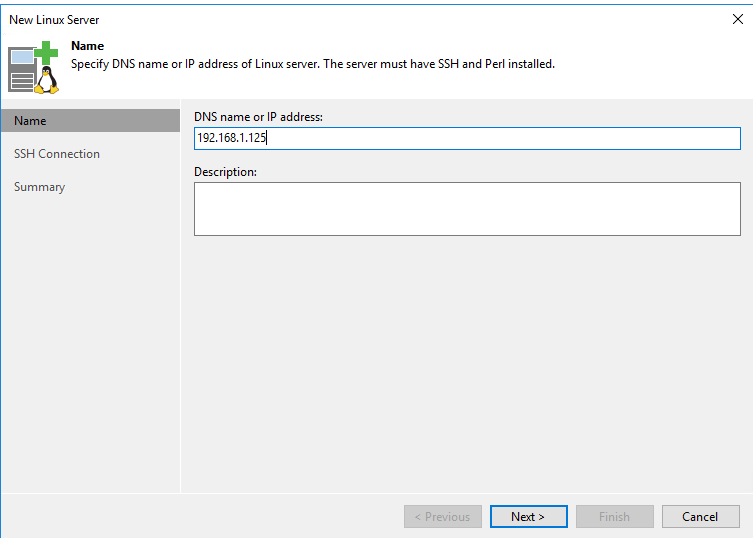
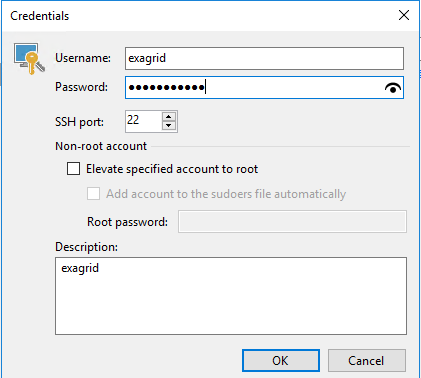
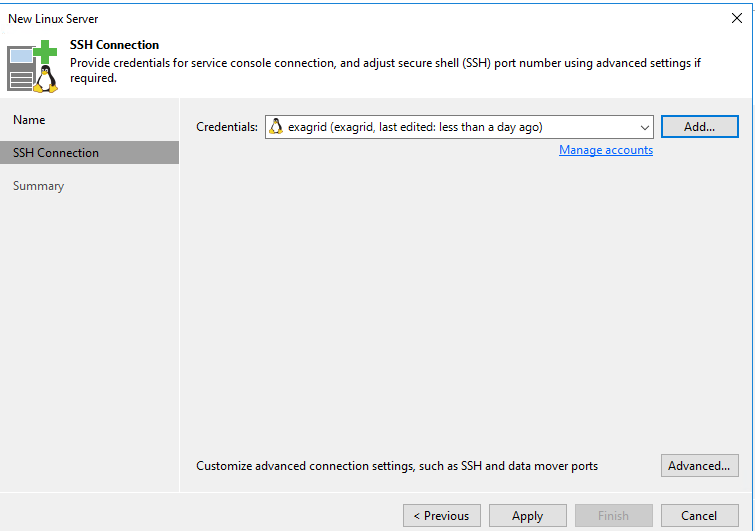
Veeam Server needs to authenticate before it can access the repository.
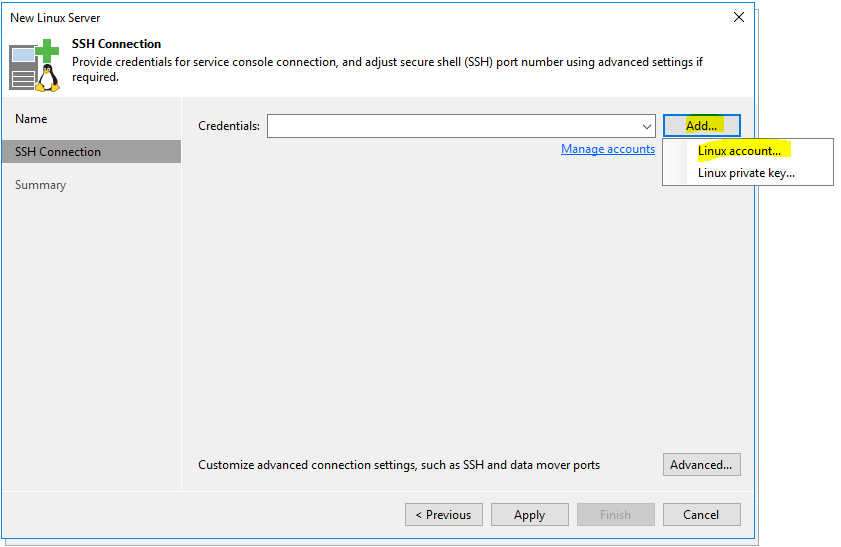
Here we need to enter the connection account “exagrid” we’ve defined on the appliance before.
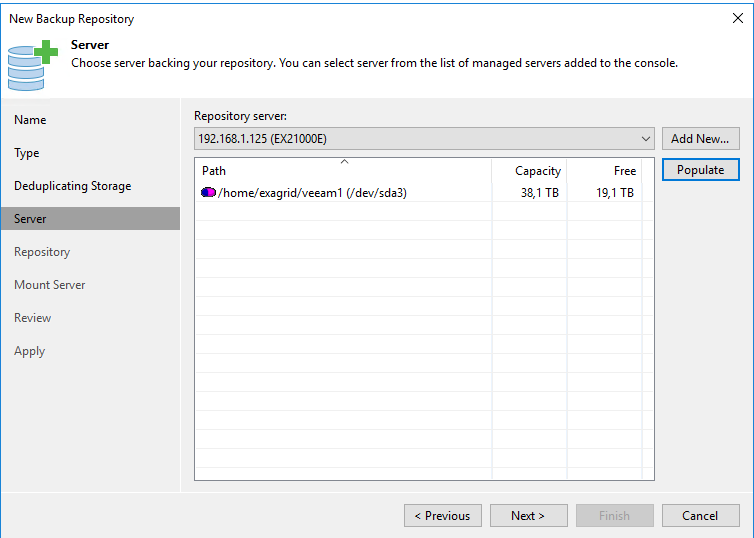
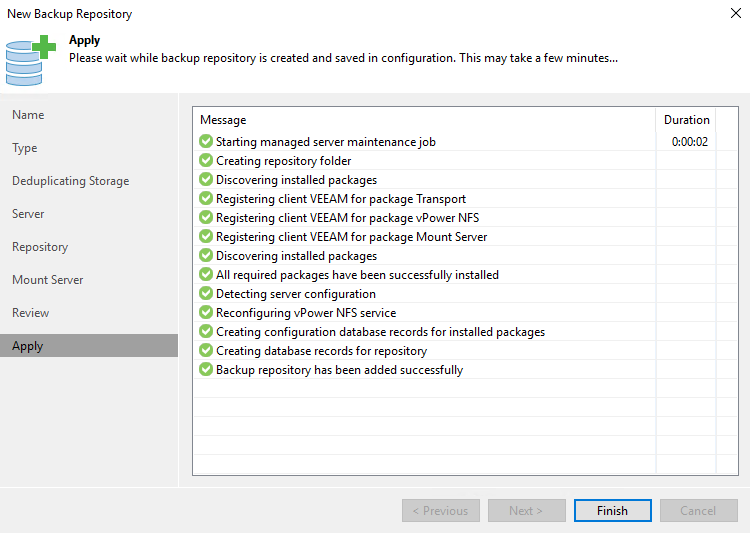
Almost there…
After entering credentials we can check the connection by clicking “populate”. We then can see the shares provided by the repository.
Now you can select a value for concurrent tasks against the same repository. Default is a value of 10. You can adjust the value according to the specs of your Veeam server and your environment.
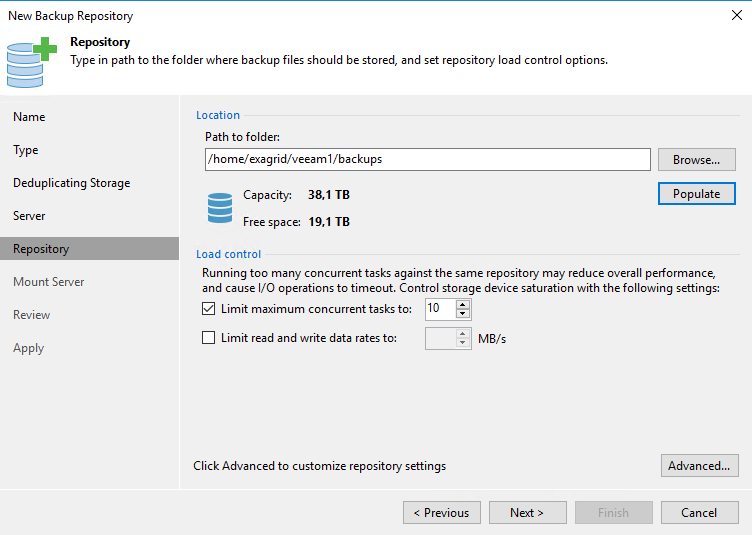
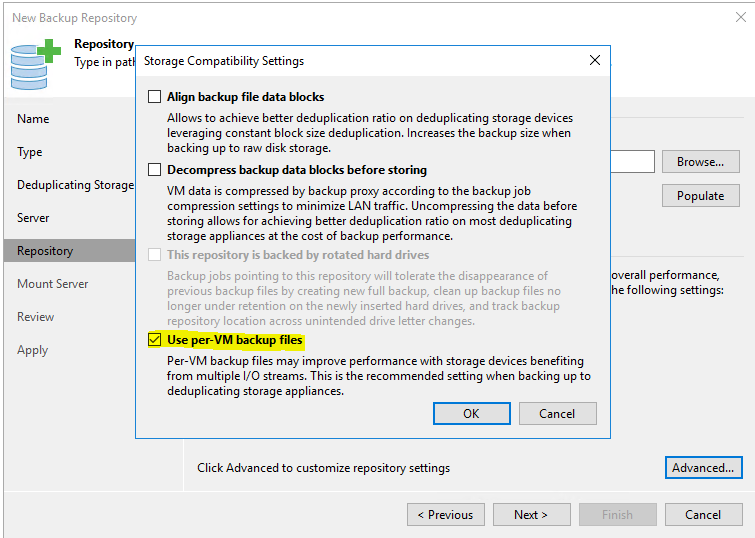
Click on advanced settings to enable per-VM backups. This is recommended for deduplication appliances.
Define a mount server for file-level-restore (FLR) and a path for vPower NFS write cache. (Usually I do not recommend using a path on the system partition)
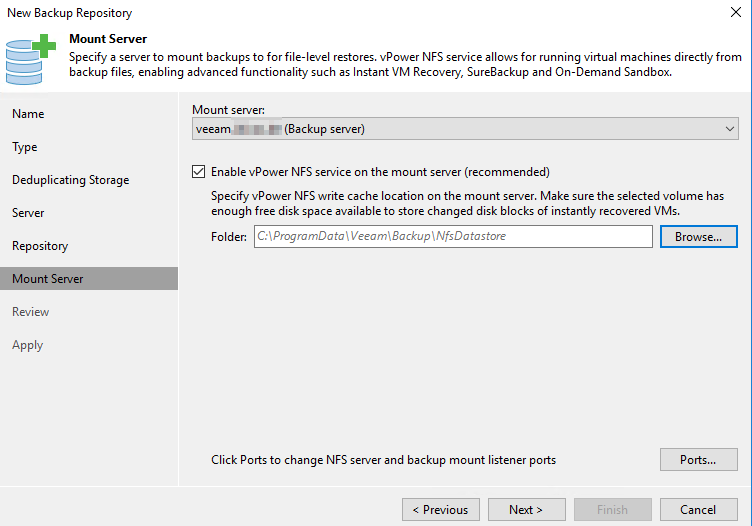
Checking Veeam components on the mount server and installing them if not present.
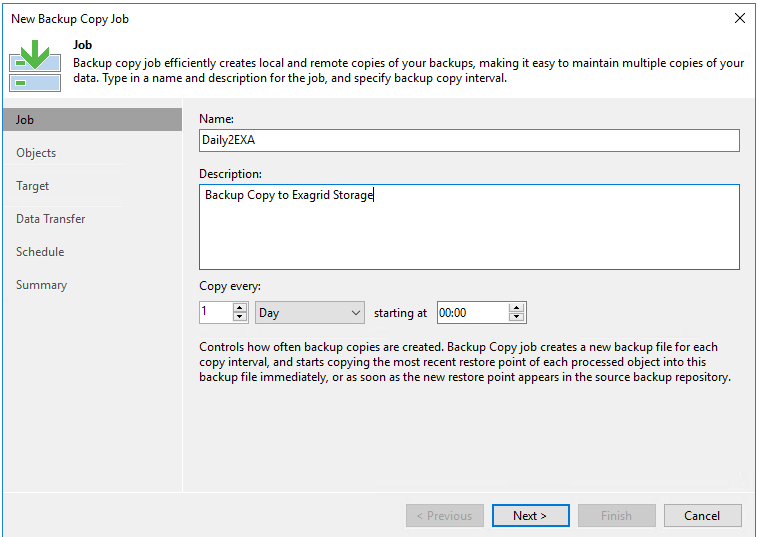
Veeam Job
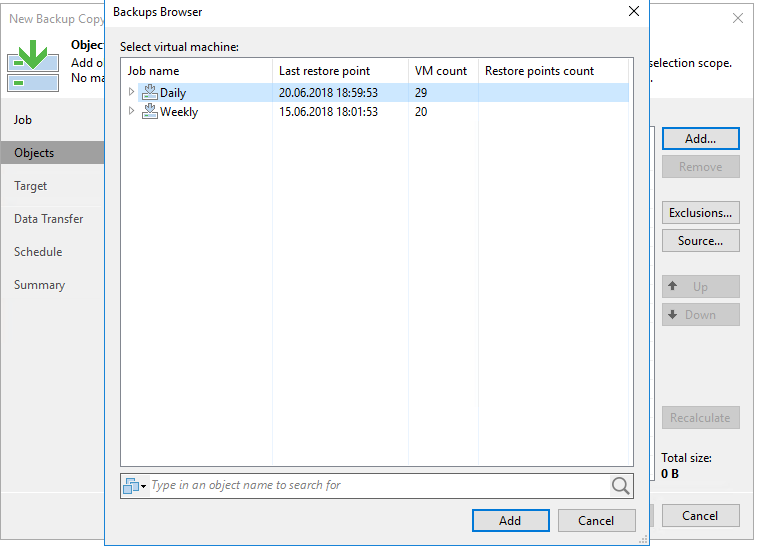
For demonstration we create a Veeam backup copy job with the Exagrid as target repository.
Select a backup job.
Select repository.
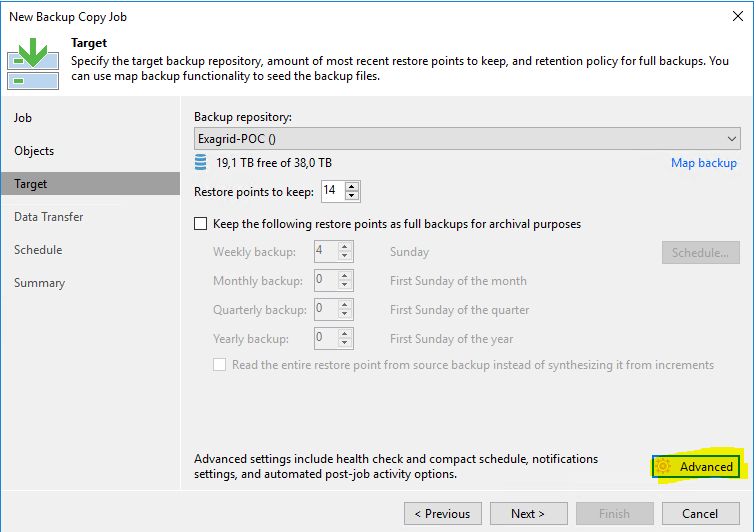
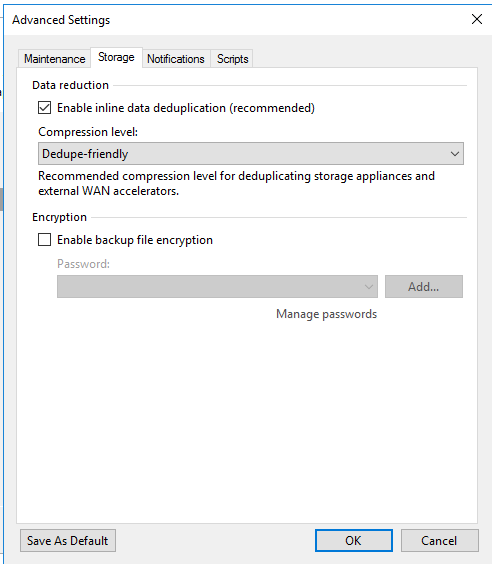
Advanced options are important. Select Tab “Storage” and enable inline data compression with level “dedupe-friendly”. This mild compression level will not interfere with the appliance dedupe and comprssion.
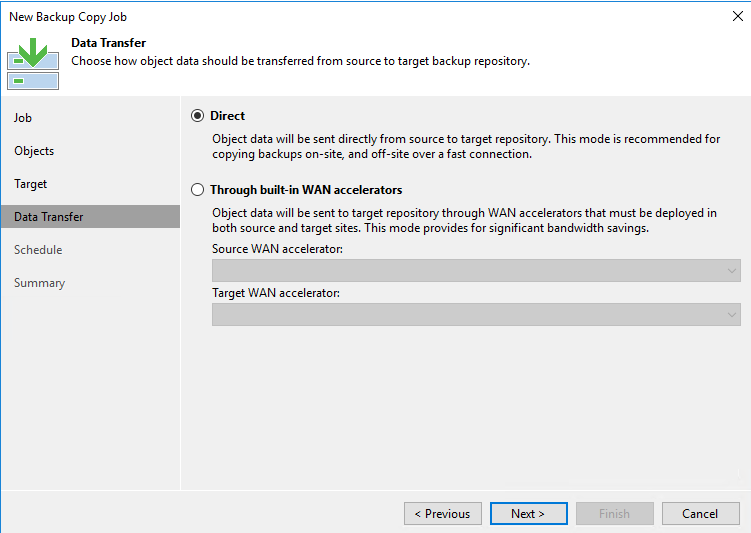
Our POC appliance is in the same datacenter as productive servers and primary backup repositories. It is connected by 10GBit LAN. Therefore we select “direct transfer”.
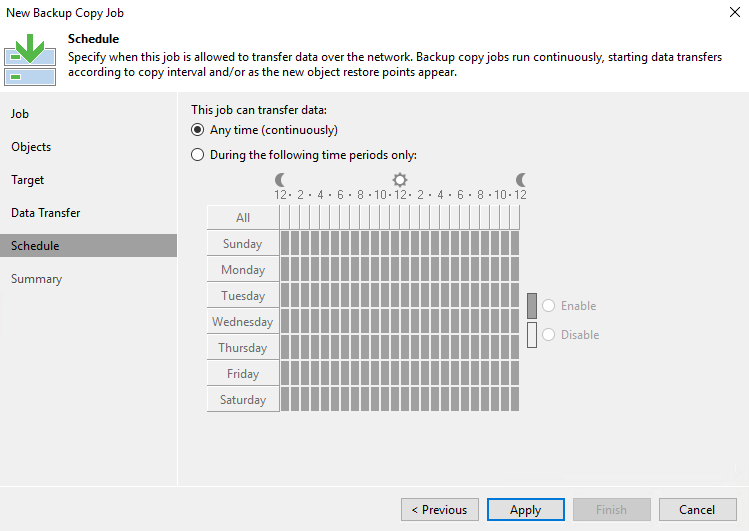
Depending on your infrastructure you can define backup windows.