VMware vRealize Network Insight (vRNI) – a.k.a “Verni” – version 5.0 was released in late 2019 and can be obtained from the VMware vRNI download page.
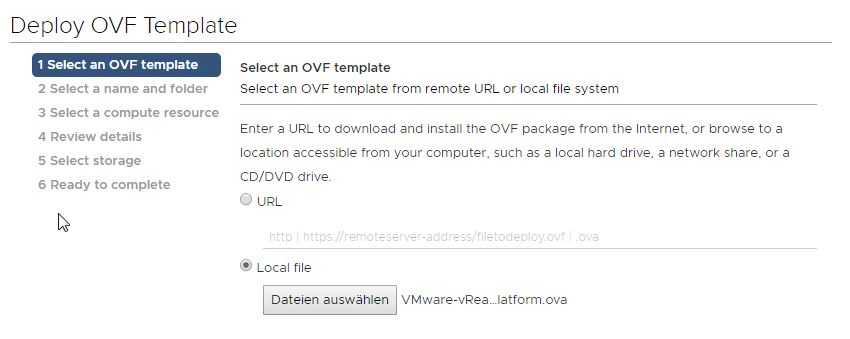
I will briefly describe the setup process here. First of all, the approx. 6 GB image file of the appliance must be loaded from VMware Downloads (login required). The appliance needs to be deployed into an existing cluster via the “Deploy OVF Template” wizard of vSphere-Client.
Deployment of the Platform Appliance (Collector)
There’s some naming confusion. The collector appliance is now called “platform” appliance. This makes it a bit difficult to find if you search for the collector in the download portal. 😉
First step is to point the wizard to the local OVA file that we’ve just downloaded.
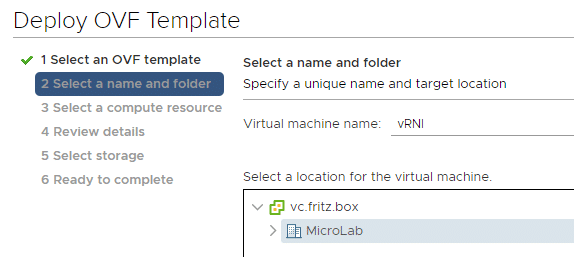
The new appliance VM needs a (VM) name and a target folder of the VM must be specified. The VM folder can be changed at any time by moving the VM to another folder. This is purely organizational and has nothing to do with the location of the VM.
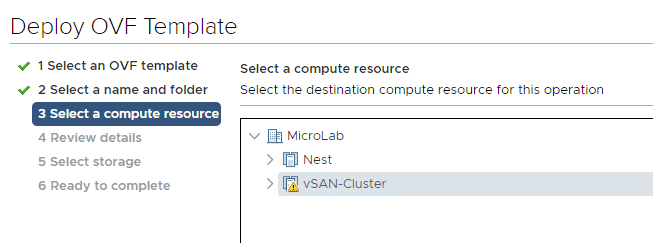
Now define target Host or Cluster.
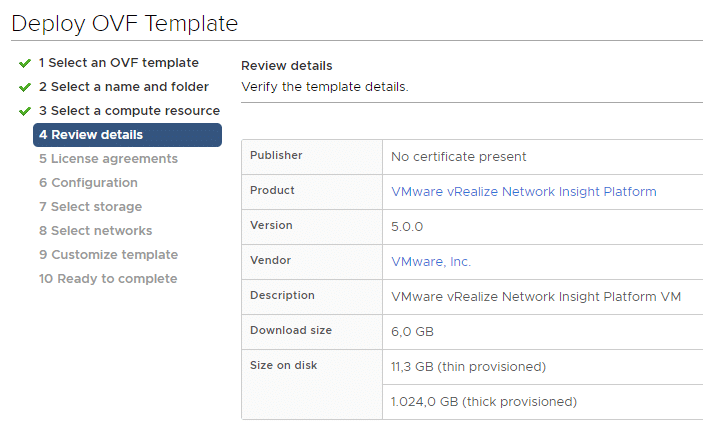
Before deployment, a parameter summary is displayed. Thin provisioned, vRNI will initially occupy 11.3 GB. For a lab demo this is absolutely sufficient. For productive environments, however, the thick provisioning is recommended, which results in 1 TB disk allocation.
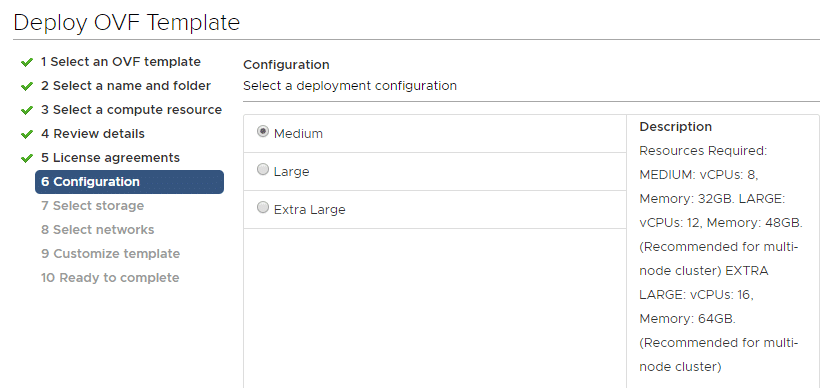
The next step is to define the size and thus the performance of the appliance. For a lab environment I choose the smallest possible option, which is “Medium”.
After selecting the deployment size, the target datastore is selected. In our case shown here, it’s the vsanDatastore.

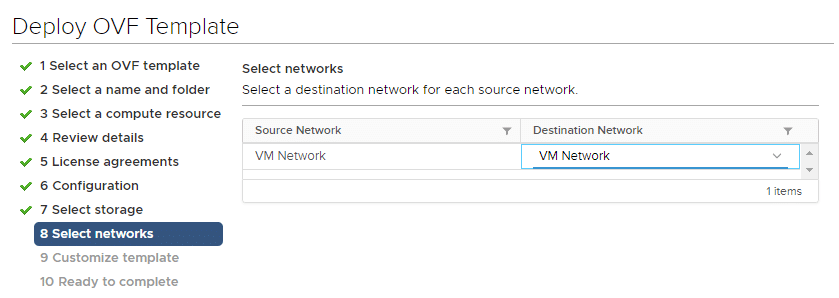
The source network (VM Network) of the appliance must be mapped to the corresponding port group of the target network. This is the port group in the target cluster to which the vRNI appliance should be connected. In the case shown below, both names were identical and therefore no adjustment was necessary.
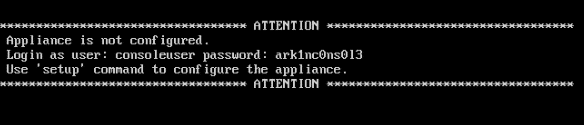
Once the appliance is deployed and powered on, further configuration steps are necessary. The console of the VM gives us instructions. Login with user “consoleuser” and password “ark1nc0ns0l3”. The second last character is a lower case “L”.
After successful login with default credentials the command “setup” has to be executed. The wizard will guide us through basic setup and lets us define our own passwords.
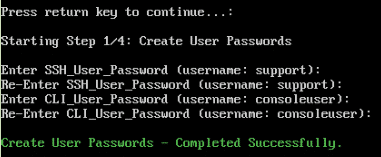
After completing the wizard, the web server is started and you can log in to the web GUI with the new credentials.
Now you can enter a license key and validate it.
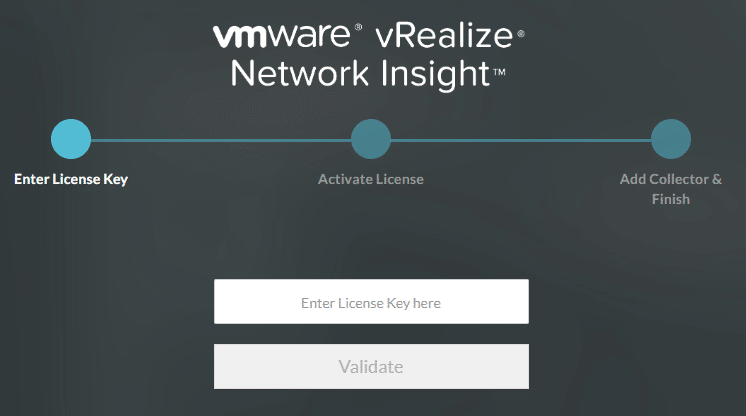
After key validation, the number of licensed CPU sockets is displayed. In my case it is a vExpert license with up to 16 CPU.

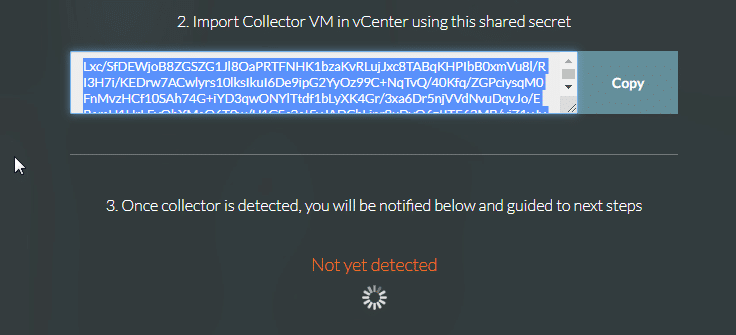
In the last step, a shared secret is created, which establishes a relationship of trust between the platform and the collector. Copy the string. We’ll need this shared secret in the next step. For now the platform appliance waits for the first proxy appliance.