One new feature of vSAN 7.0 update 1 is SMB support with vSAN File Service. Version 7.0 GA was limited to the NFS protocol.
Where’s the SMB option?
I was a little bit confused that I wasn’t able to choose SMB protocol for vSAN File Service after I’ve updated my homelab cluster to version 7 U1.
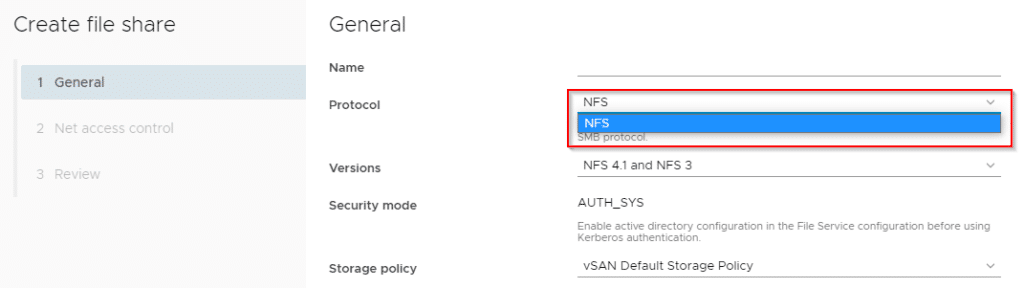
As always it’s a good idea to open your eyes and read the fine-print. Just below the dropdown menu there’s the unmistakable quote:
Enable active directory configuration in the File Service configuration before using SMB protocol.

Sounds logic and explains why I could not choose the SMB protocol. My homelab works without ADS. Instead a small bind9 server is responsible for DNS resolution.
You can find a hint in the properties of an existing file share too.
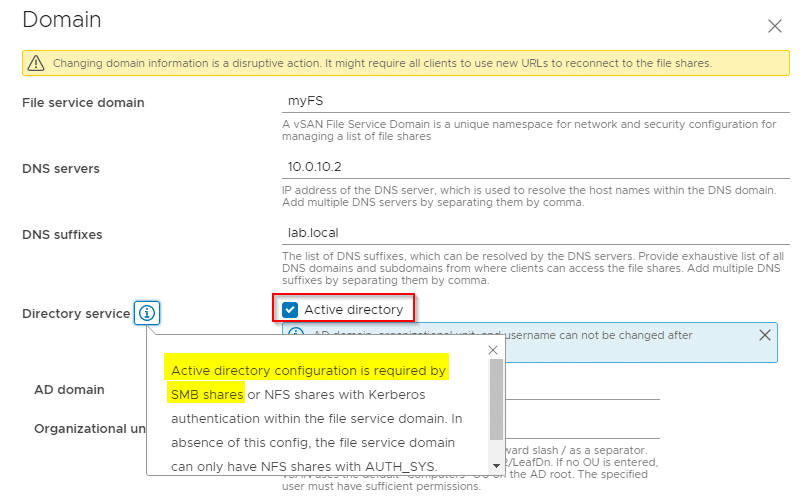
Long story short: No Active Directory – no SMB in vSAN File Service 🙂