
ESXi on Intel x86 architecture has been a commodity for many years now. In recent years and during VMworld for example we’ve seen early alpha versions of ESXi running on Arm architecture like smart NICs or even Raspberry Pi. Meanwhile VMware developers published a Fling named ESXi Arm Edition to deploy ESXi on Arm architecture. Of course this is a lab project and not supported by VMware for production workloads. But anyway, it’s a great opportunity to play around with ESXi on a cheap and tiny computer like Raspberry Pi. I will not explain how to deploy ESXi on Arm. Check the detailed documentation on the Fling project page (PDF). I will focus on day-2 operation.
I would like to thank William Lam for providing a lot of background information, hacks and tricks around PhotonOS and ESXionArm.
Now I’ve got an ESXi host on my Raspi. What can I do with it?
Just a few remarks before we start:
You can’t run any workload on the ESXi on Arm platform. As the project name says, it’s an Arm architecture, So you can’t run operating systems based on Intel architecture. All guest VMs need to be made for Arm architecture. That will rule out Windows guest systems and also most Linux distributions. But luckily there are a couple of Linux distributions made specific for Arm architecture like Ubuntu Server for Arm, or Photon OS. For my demonstration I chose the latest Photon OS (version 4 beta). As host hardware I’m using the “big” Raspberry Pi 4 with 8 GB RAM. You can imagine that 8 GB of RAM isn’t very much for host OS and guest VMs. We have to use resources sparingly.
Our aim is to deploy a 3 node Kubernets cluster on an ESXi on Arm host on Raspberry Pi with just 8 GB RAM and 4 cores. Sounds crazy, but it’s possible. Thanks to K3s lightweight Kubernetes on Arm.
Hardware used
- Raspberry Pi 4, Broadcom BCM2711, Quad core Cortex-A72 (ARM v8) 64-bit SoC @ 1.5GHz
- Heat sink for Raspberry Pi4 (your Raspi will become hot without)
- SD-card (only for UEFI BIOS)
- USB stick for ESXi installation
- USB 3 hub with external power supply (Raspi doesn’t provide reliable power on USB port for an NVMe SSD)
- USB 3 NVMe M.2 case
- Samsung NVMe EvoPlus 250 GB M.2
Using ESXi on Arm in standalone mode
Although I have joined my ESXi on Raspi to my vCenter 7, I will not use any vCenter features. All works are done like on a standalone ESXi (with all the shortcomings and limitations).
First we need 3 VMs for the 3 K3s nodes. It’s a good idea to build a VM with everything we need except K3s and then clone it. Well, if you think cloning a VM on a standalone ESXi on Arm host is just a mouse click in the UI, then welcome to the real world. 😉 I will come to that point later. Let’s build our first Photon OS VM.
Building the Photon OS VM
Download the latest Photon OS on Arm image from VMware GitHub page (Full ISO arm64) and upload it to your ESXi on Arm datastore.

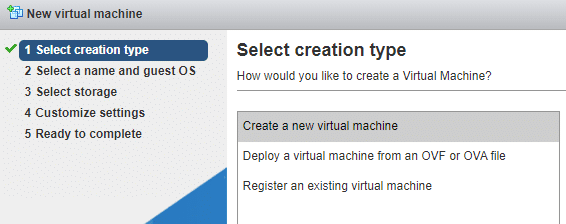
Deploy a new Photon OS VM.
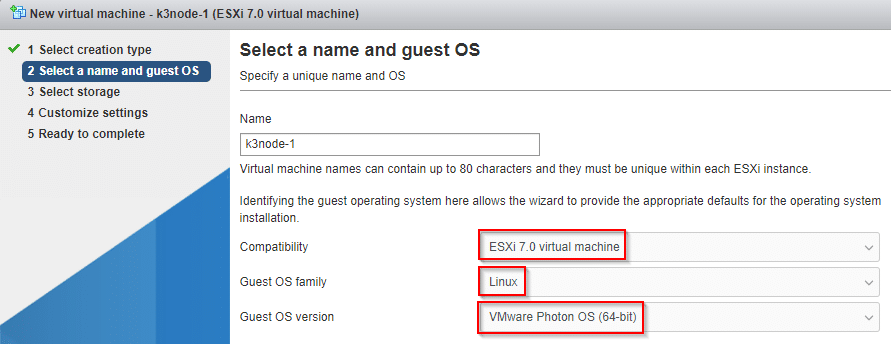
Select latest hardware compatibility (ESXi 7.0), Linux family and Photon OS.
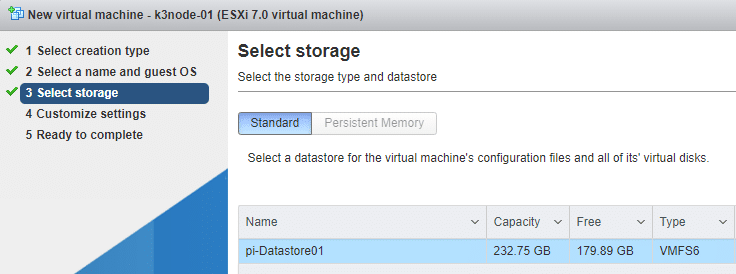
Select a datastore for the new VM.
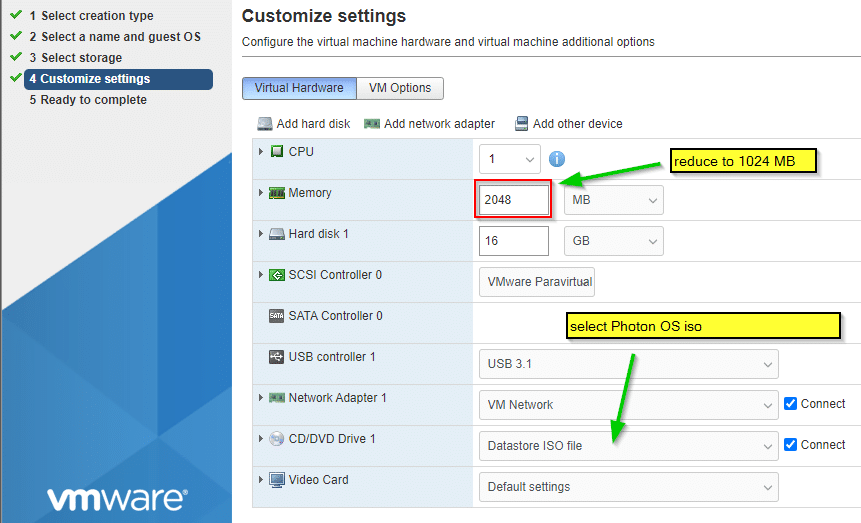
As we have less than 8 GB of RAM available, we need to reduce guest memory. In the end we’ll need to run 3 nodes. Connect the Photon OS iso on the local datastore that we’ve just uploaded.
Finish the wizard and boot the VM.
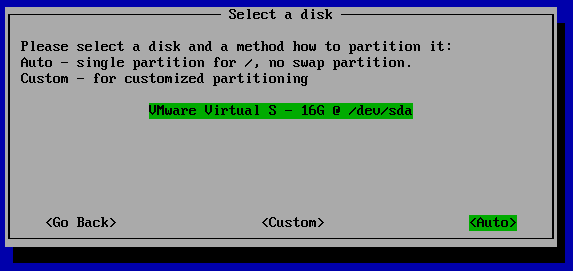
Open a console, accept the license agreement and follow the setup wizard. Chose automatic partitioning.
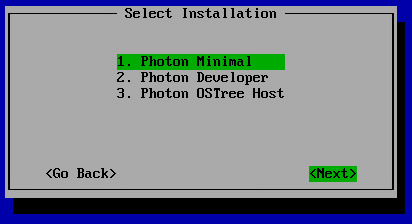
Choose minimal deployment.
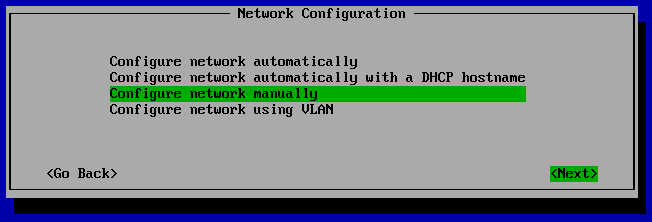
Depending on your virtual network infrastructure select static IP configuration or DHCP. In my example I’m using static addresses with manual configuration.
If you’ve selected manual configuration, enter details in the next step.
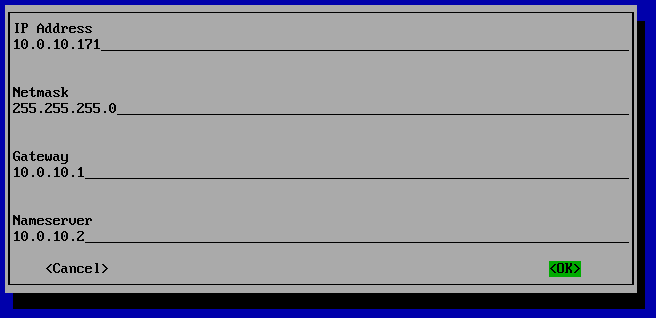
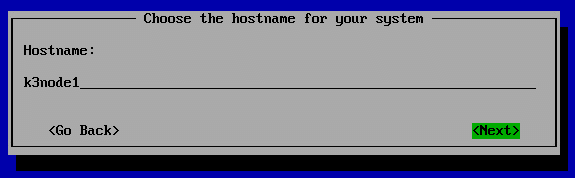
Enter a hostname and make sure it can be resolved by DNS.
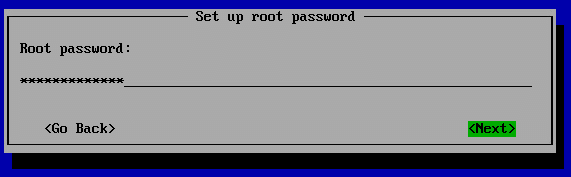
Enter new password for root.
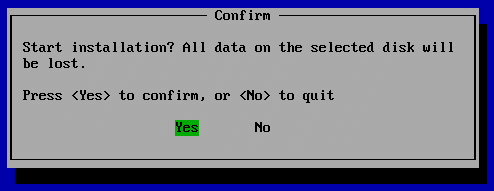
Confirm password in next step and start installation.
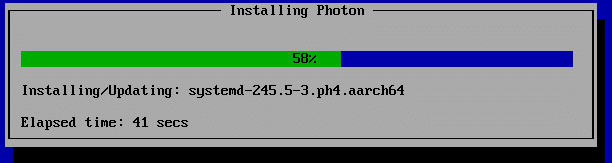
Hit any key to reboot.

Grab a cup of coffee. Reboot takes a minute or two.

Now we have a basic Photon OS. Let’s make some adjustments before we clone our setup. Login as user root and enter your chosen password. Remember the console has en-US keyboard layout. Connecting with SSH is not yet possible. It’s a security feature to deny SSH login for user root but we will change that.